Upcycled Japanese Rice Bag
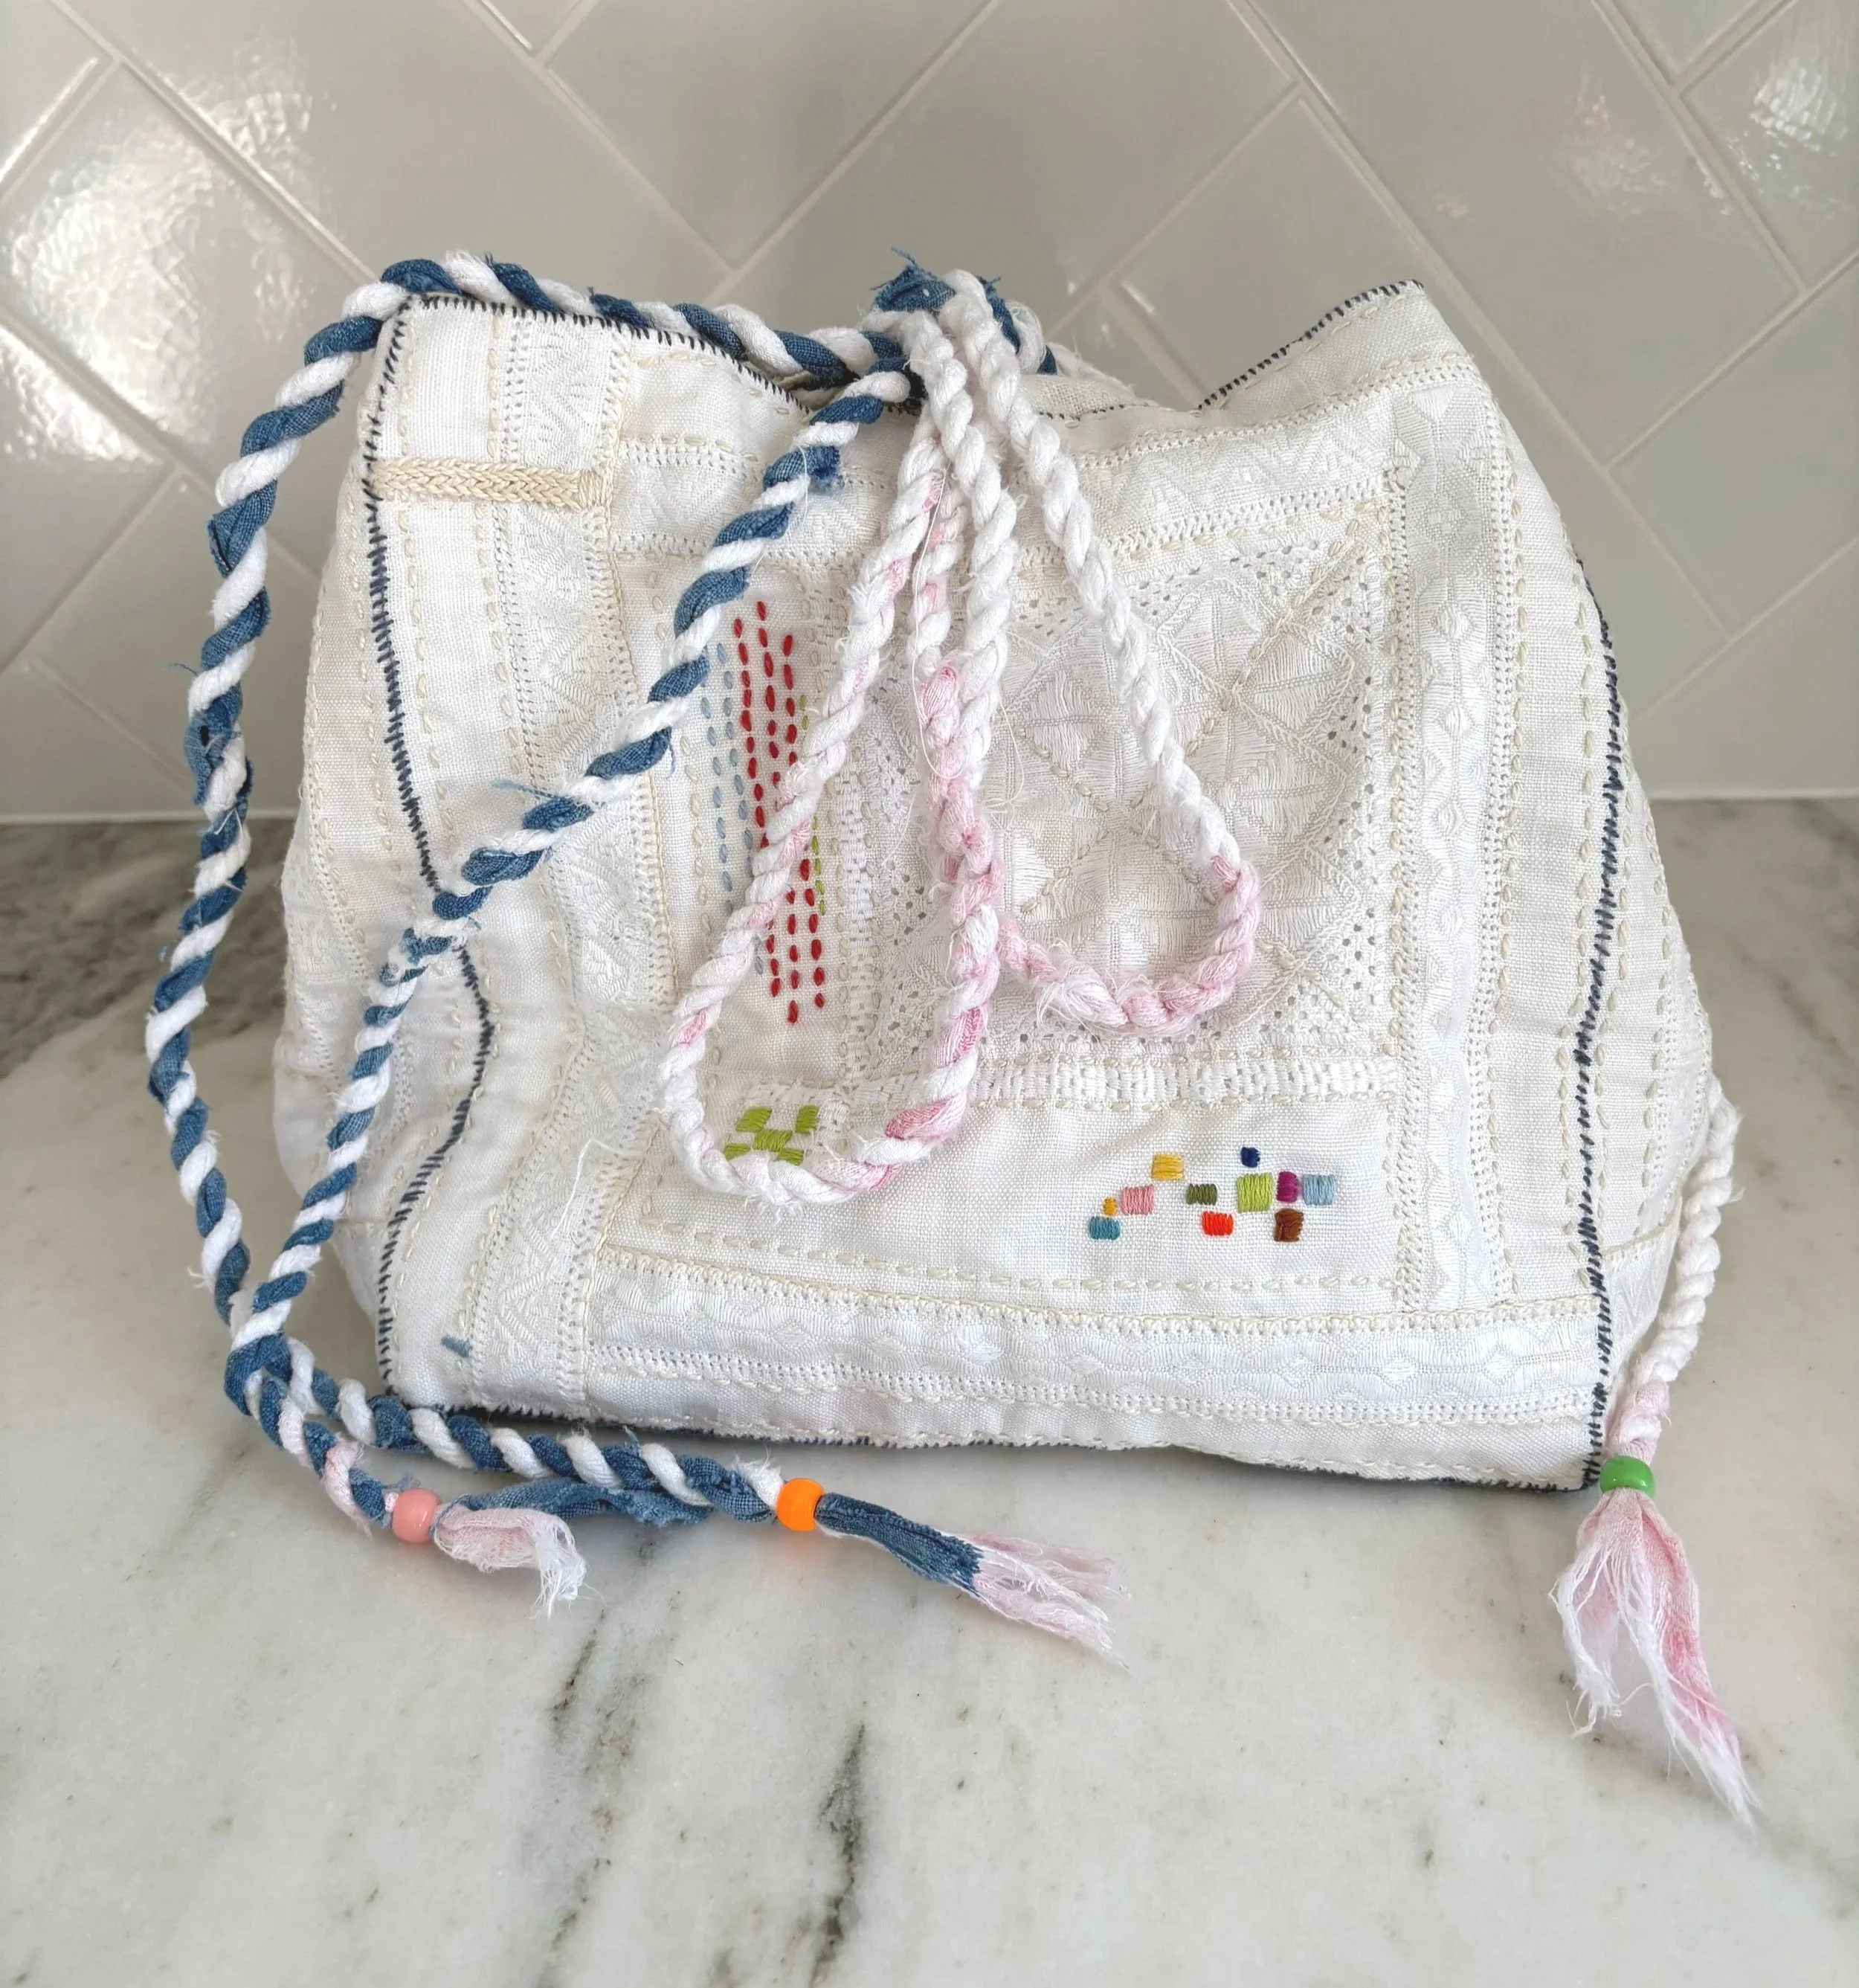
Large Japanese rice bag (komebukuro) made from vintage tablecloth
I love linen
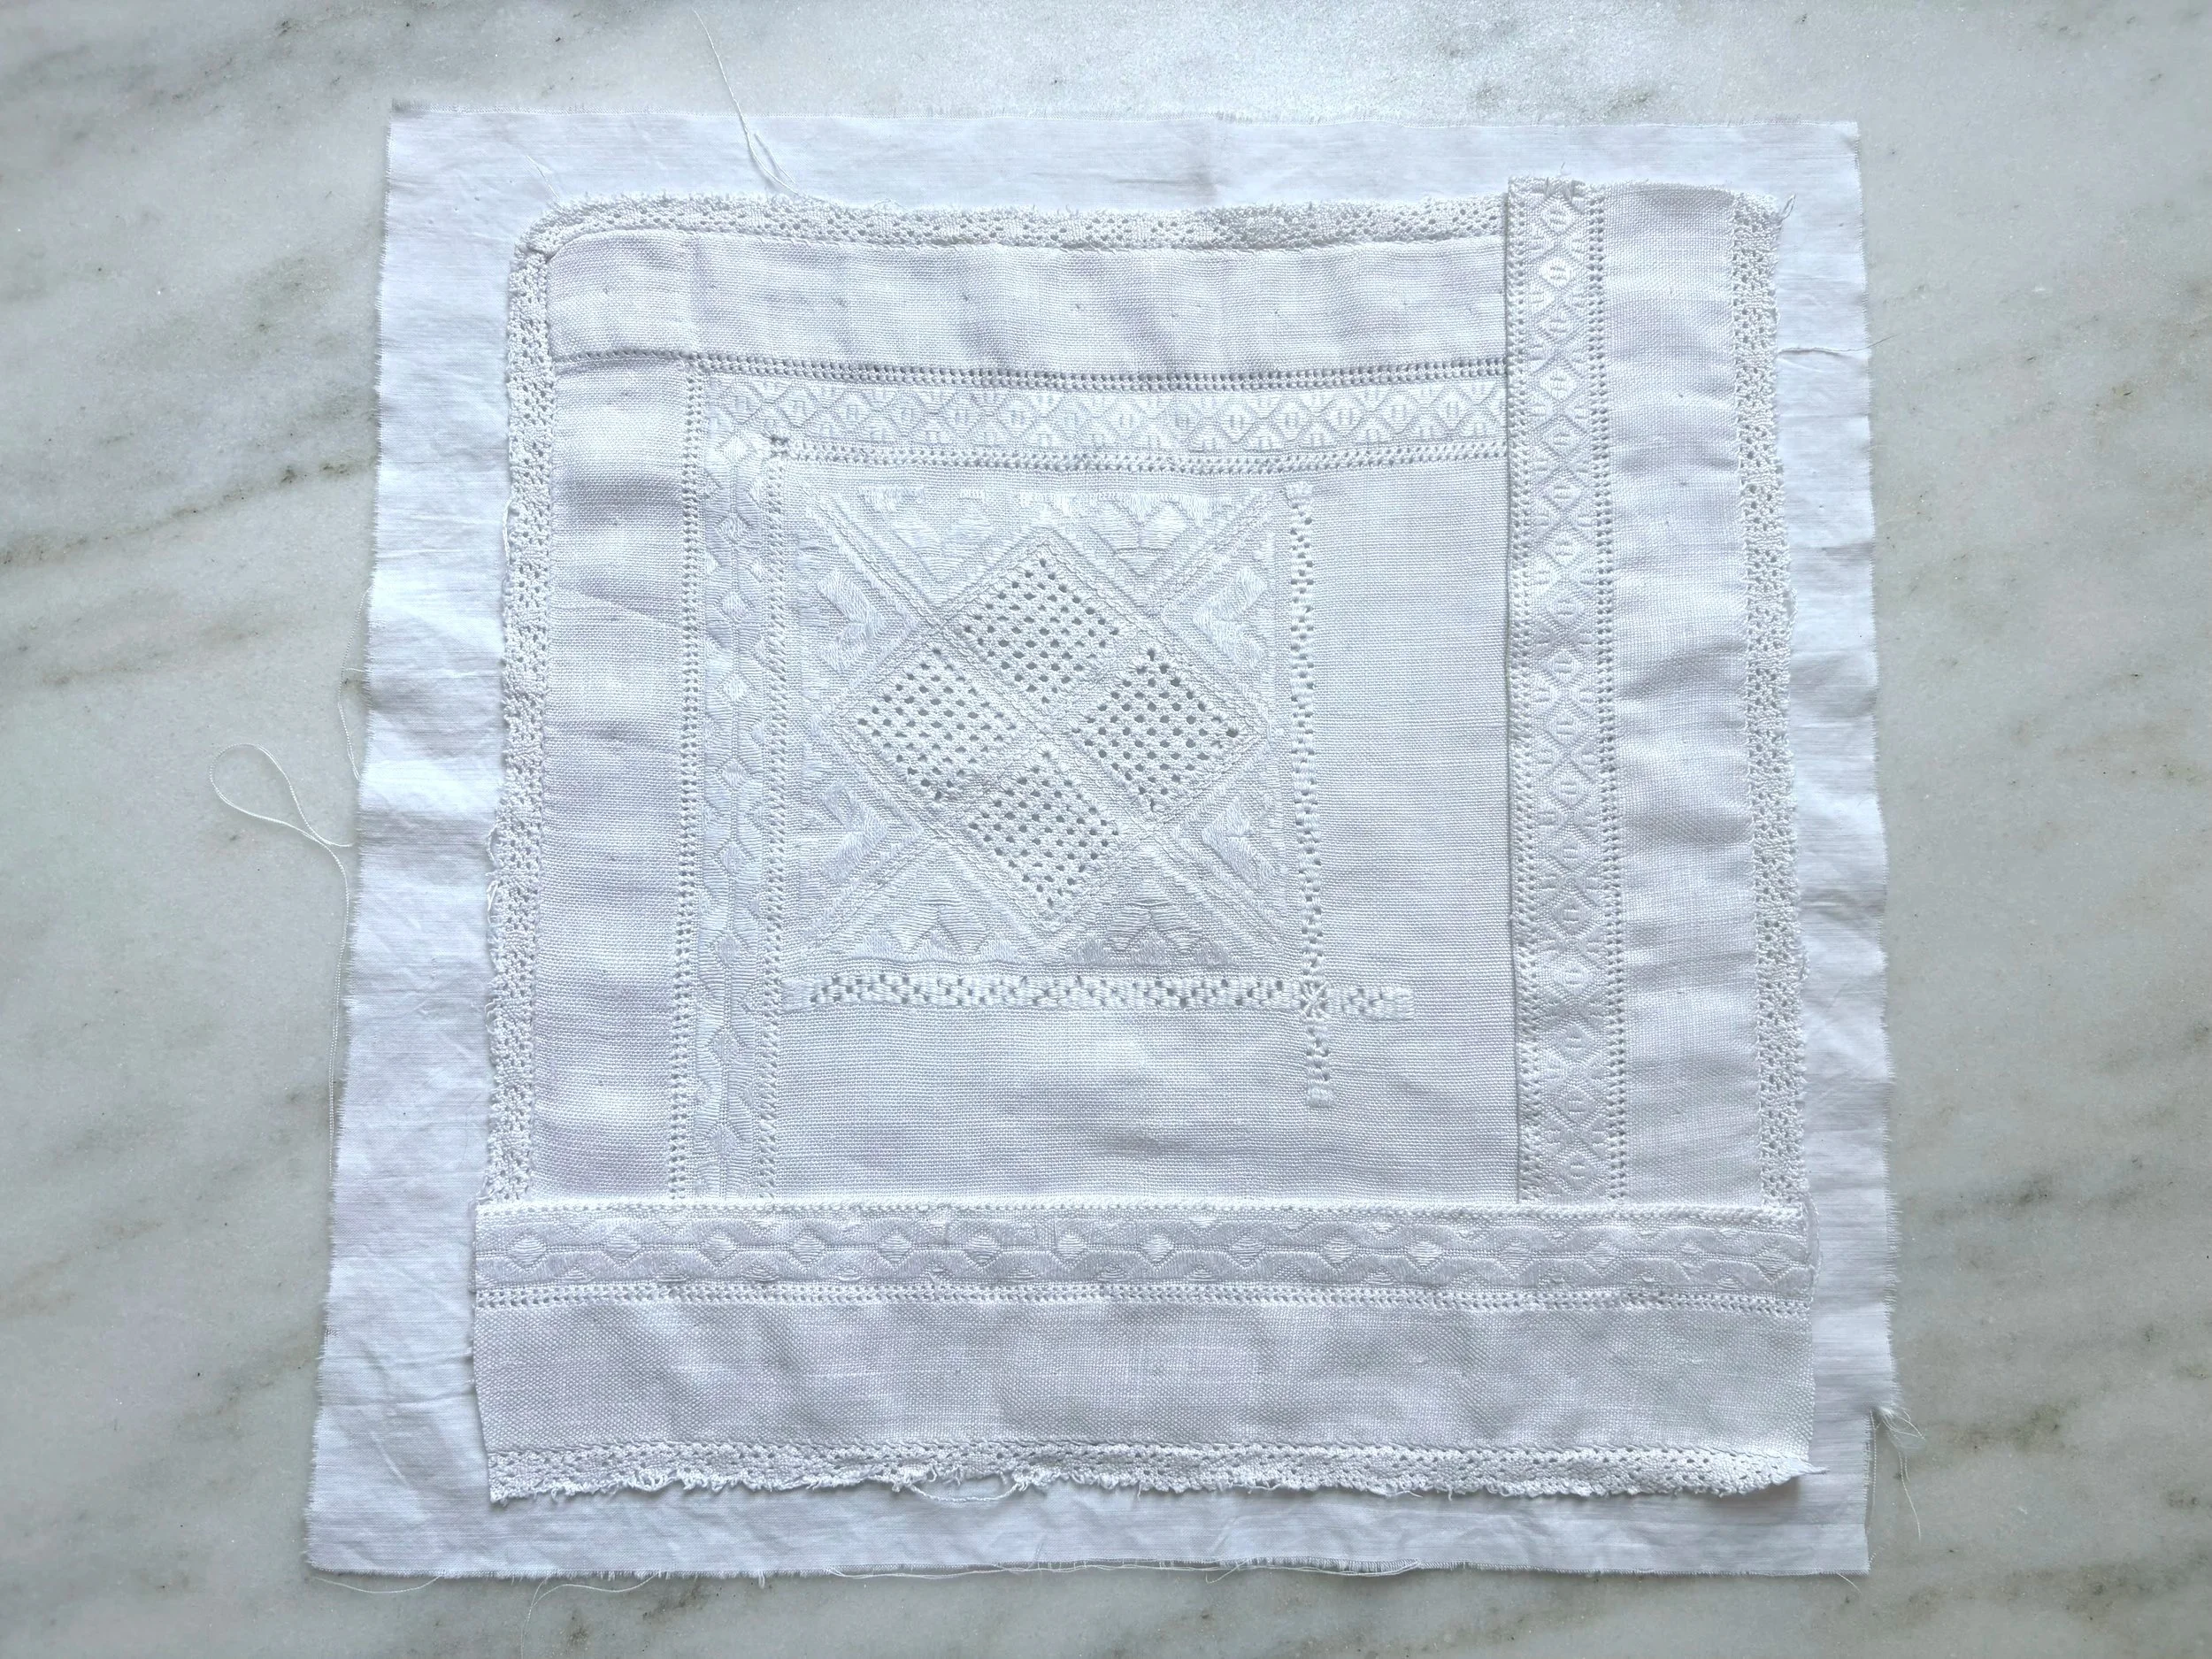
I saved a really worn out linen tablecloth because I loved its patina, someone before me had loved it too, I wonder what kinds of things this cloth has seen? It had 4 different square embroidered motifs on each corner - perfect for a rice bag!
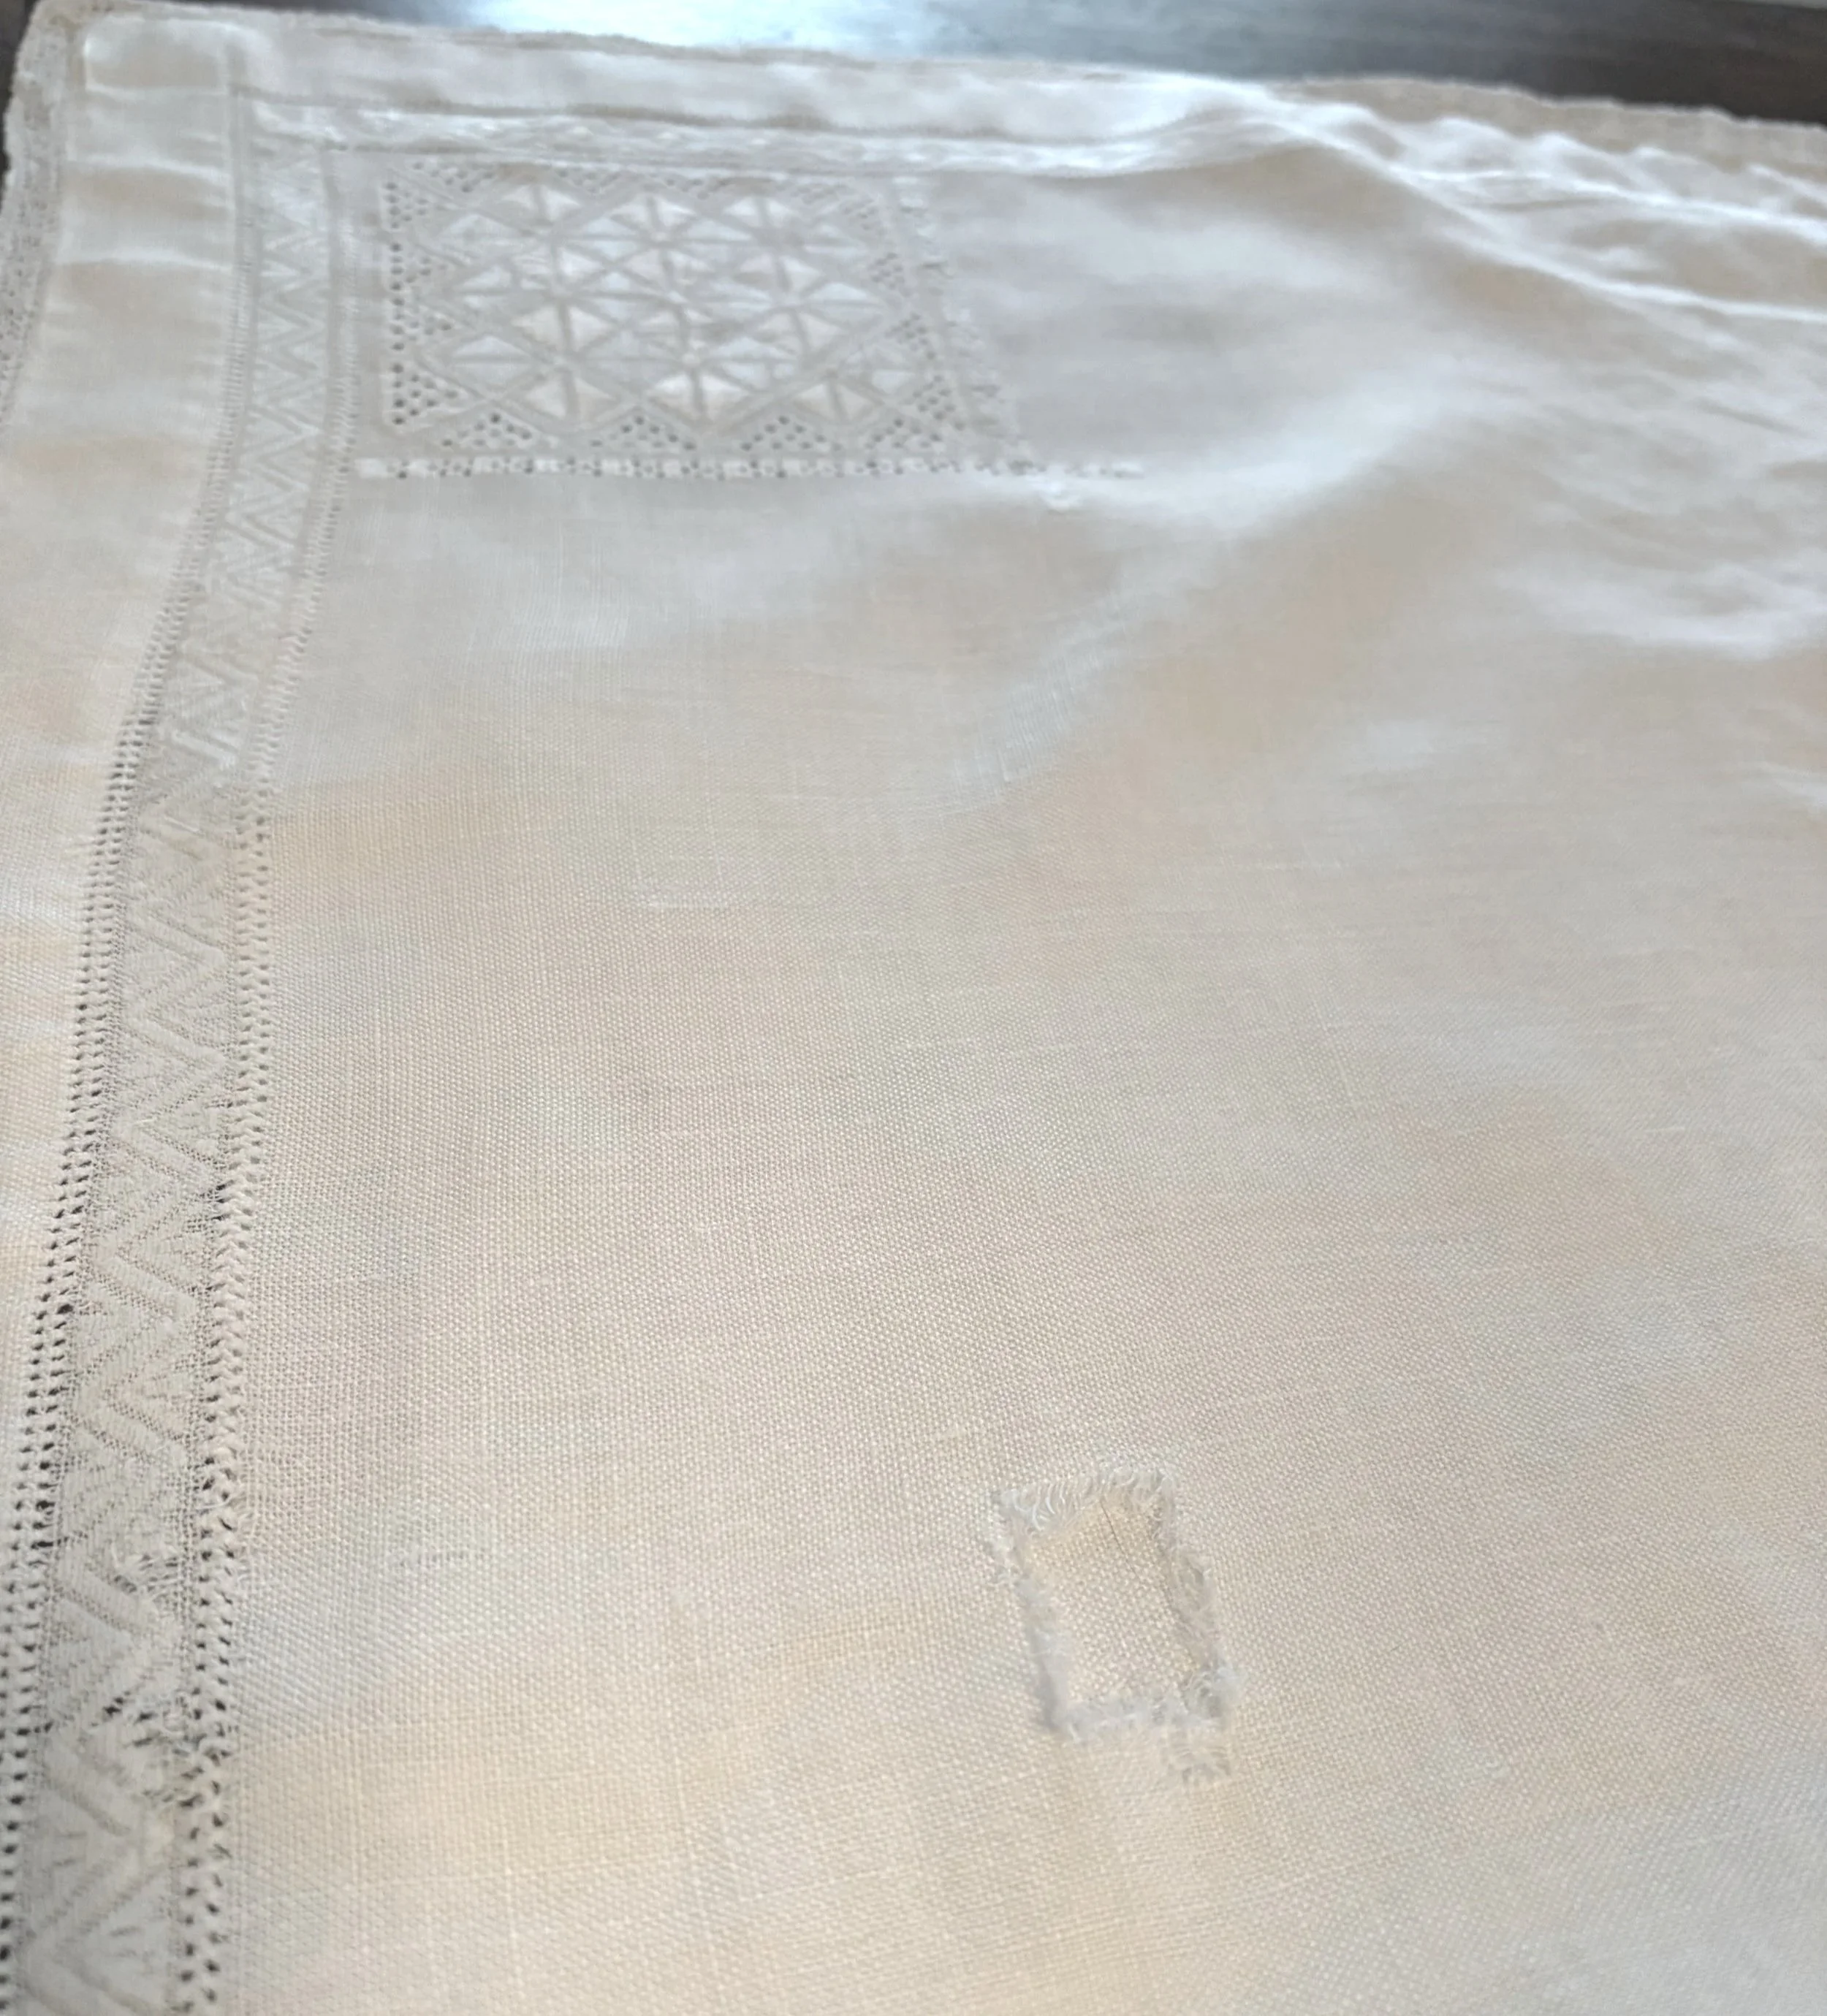
Worn out vintage linen tablecloth
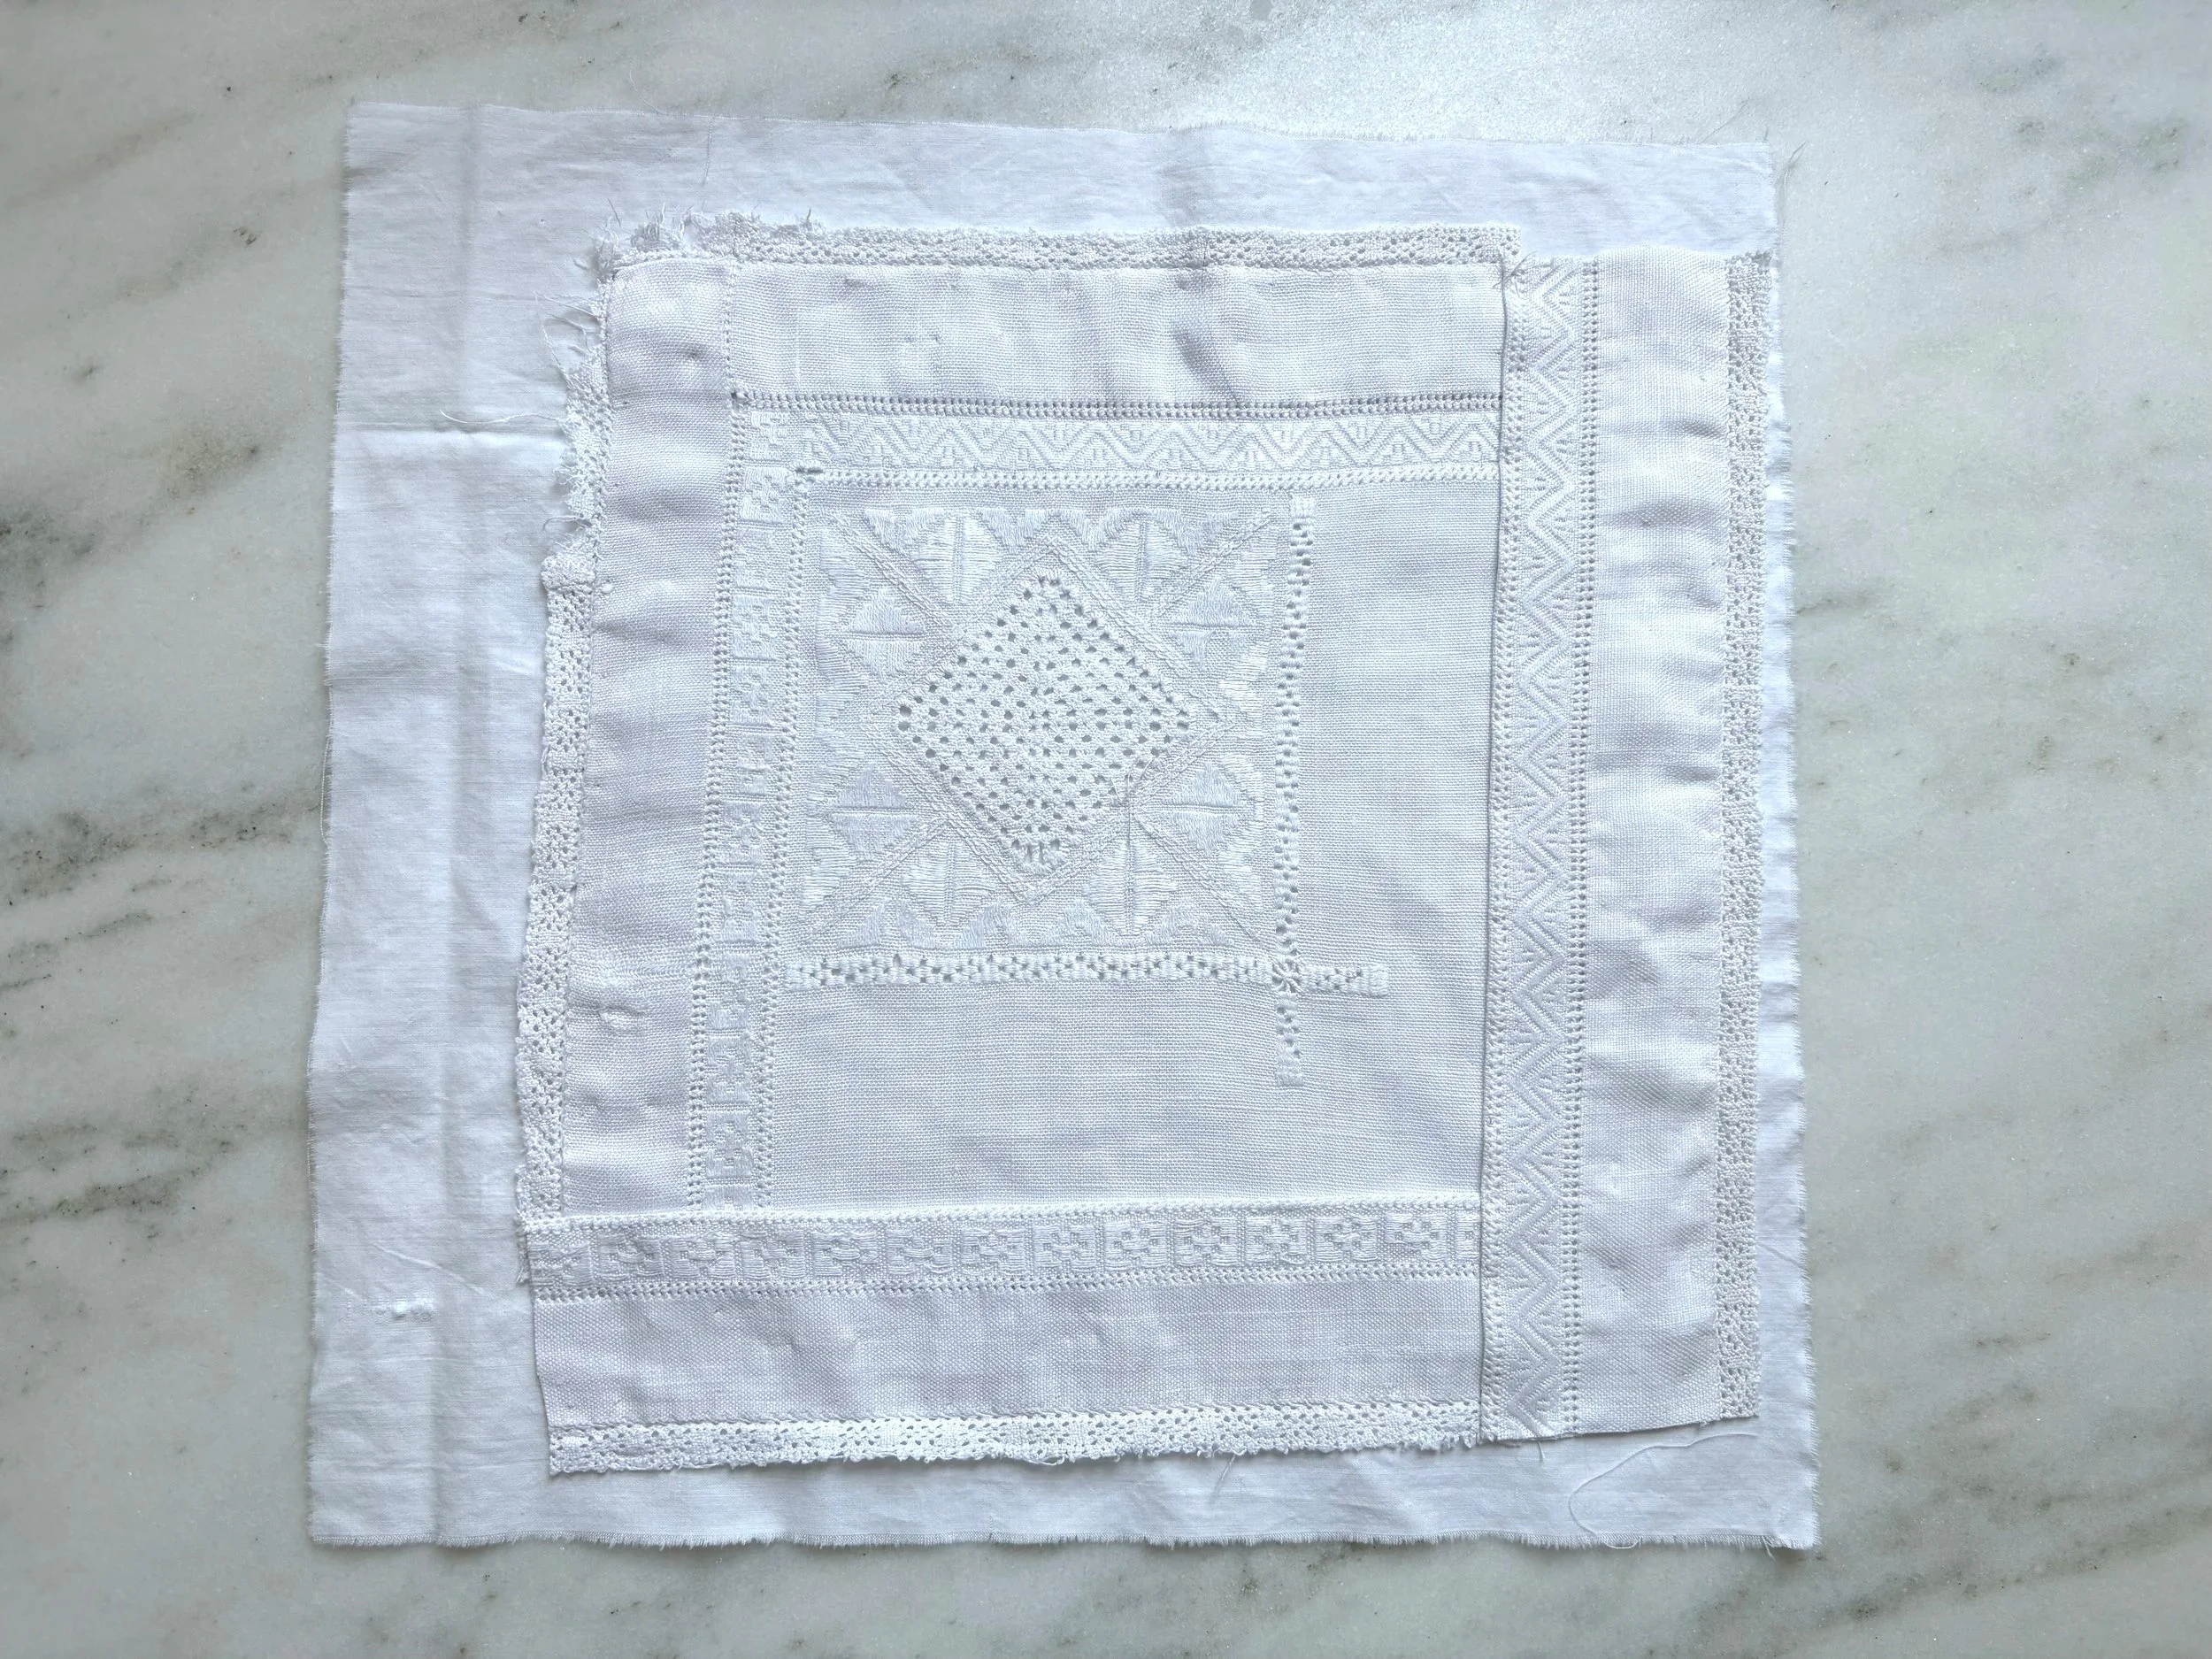
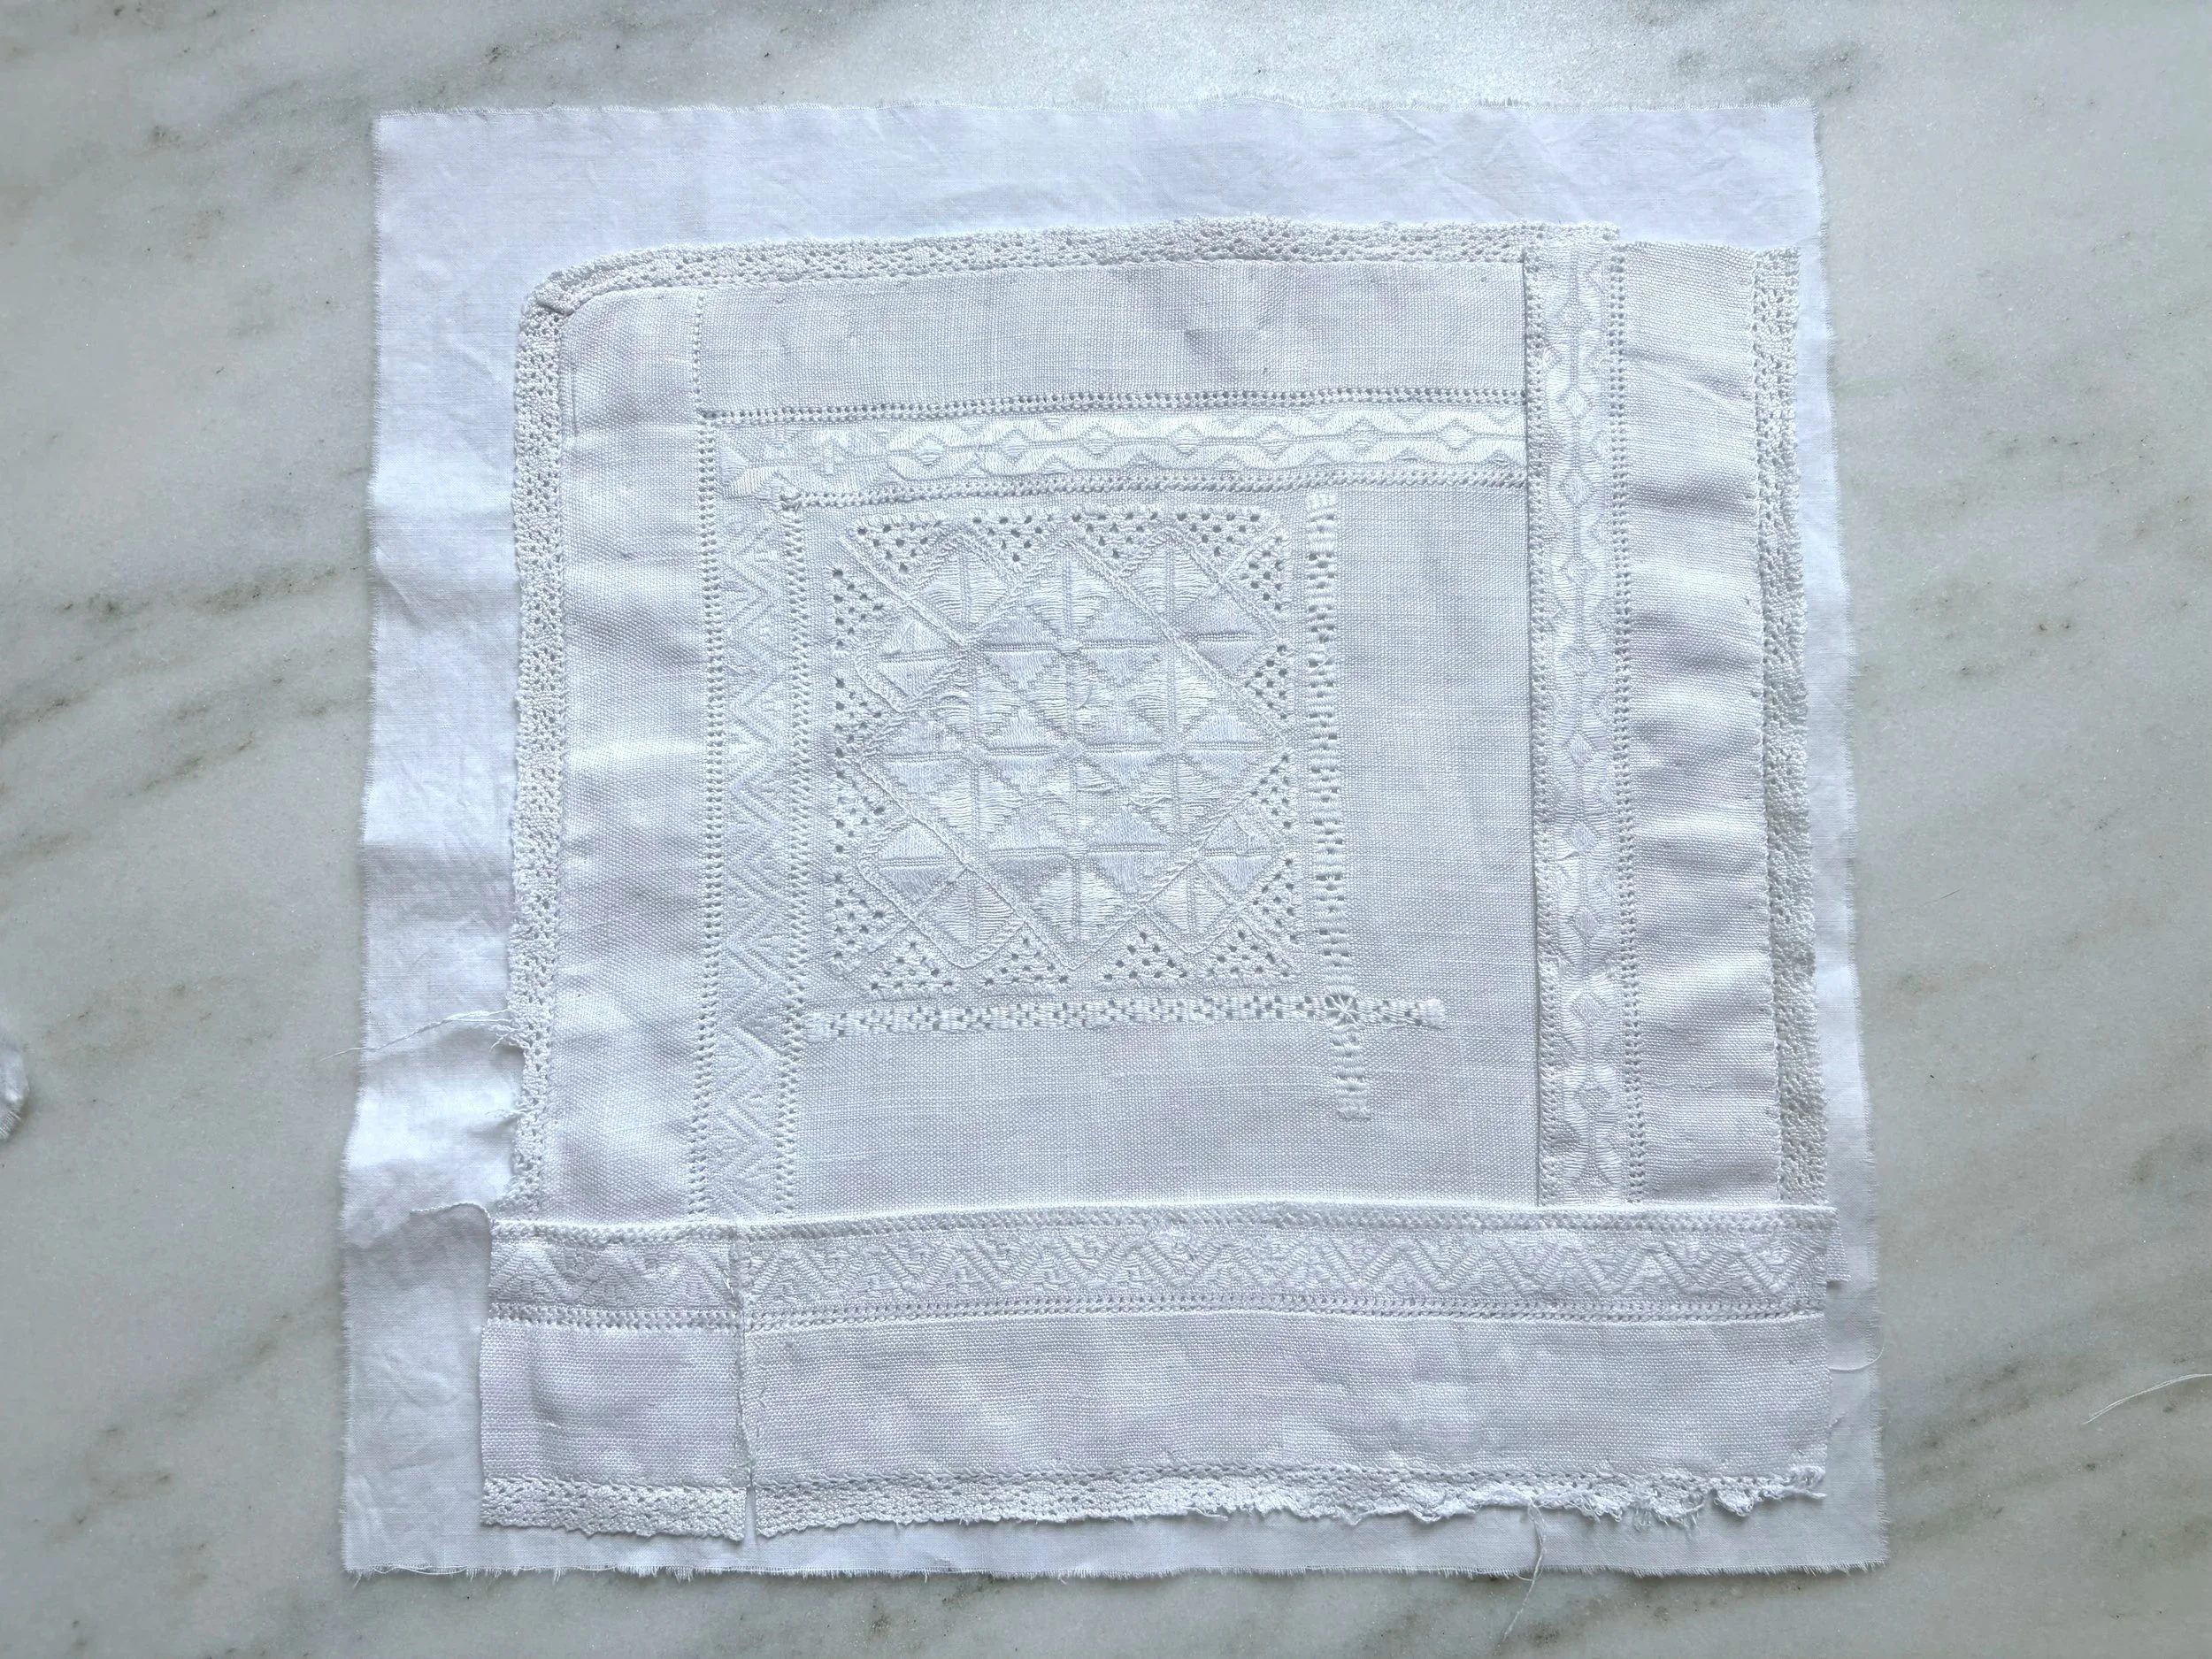
I cut the corners from the tablecloth and pieced some of the edging to the inside of the squares to add “trim”. This created a nice square with an edge. Of course I used the invisible baste technique on a sheet foundation I learned from one of Jude Hill’s videos. I also backed the piece up with cotton batting since the squares were so large.

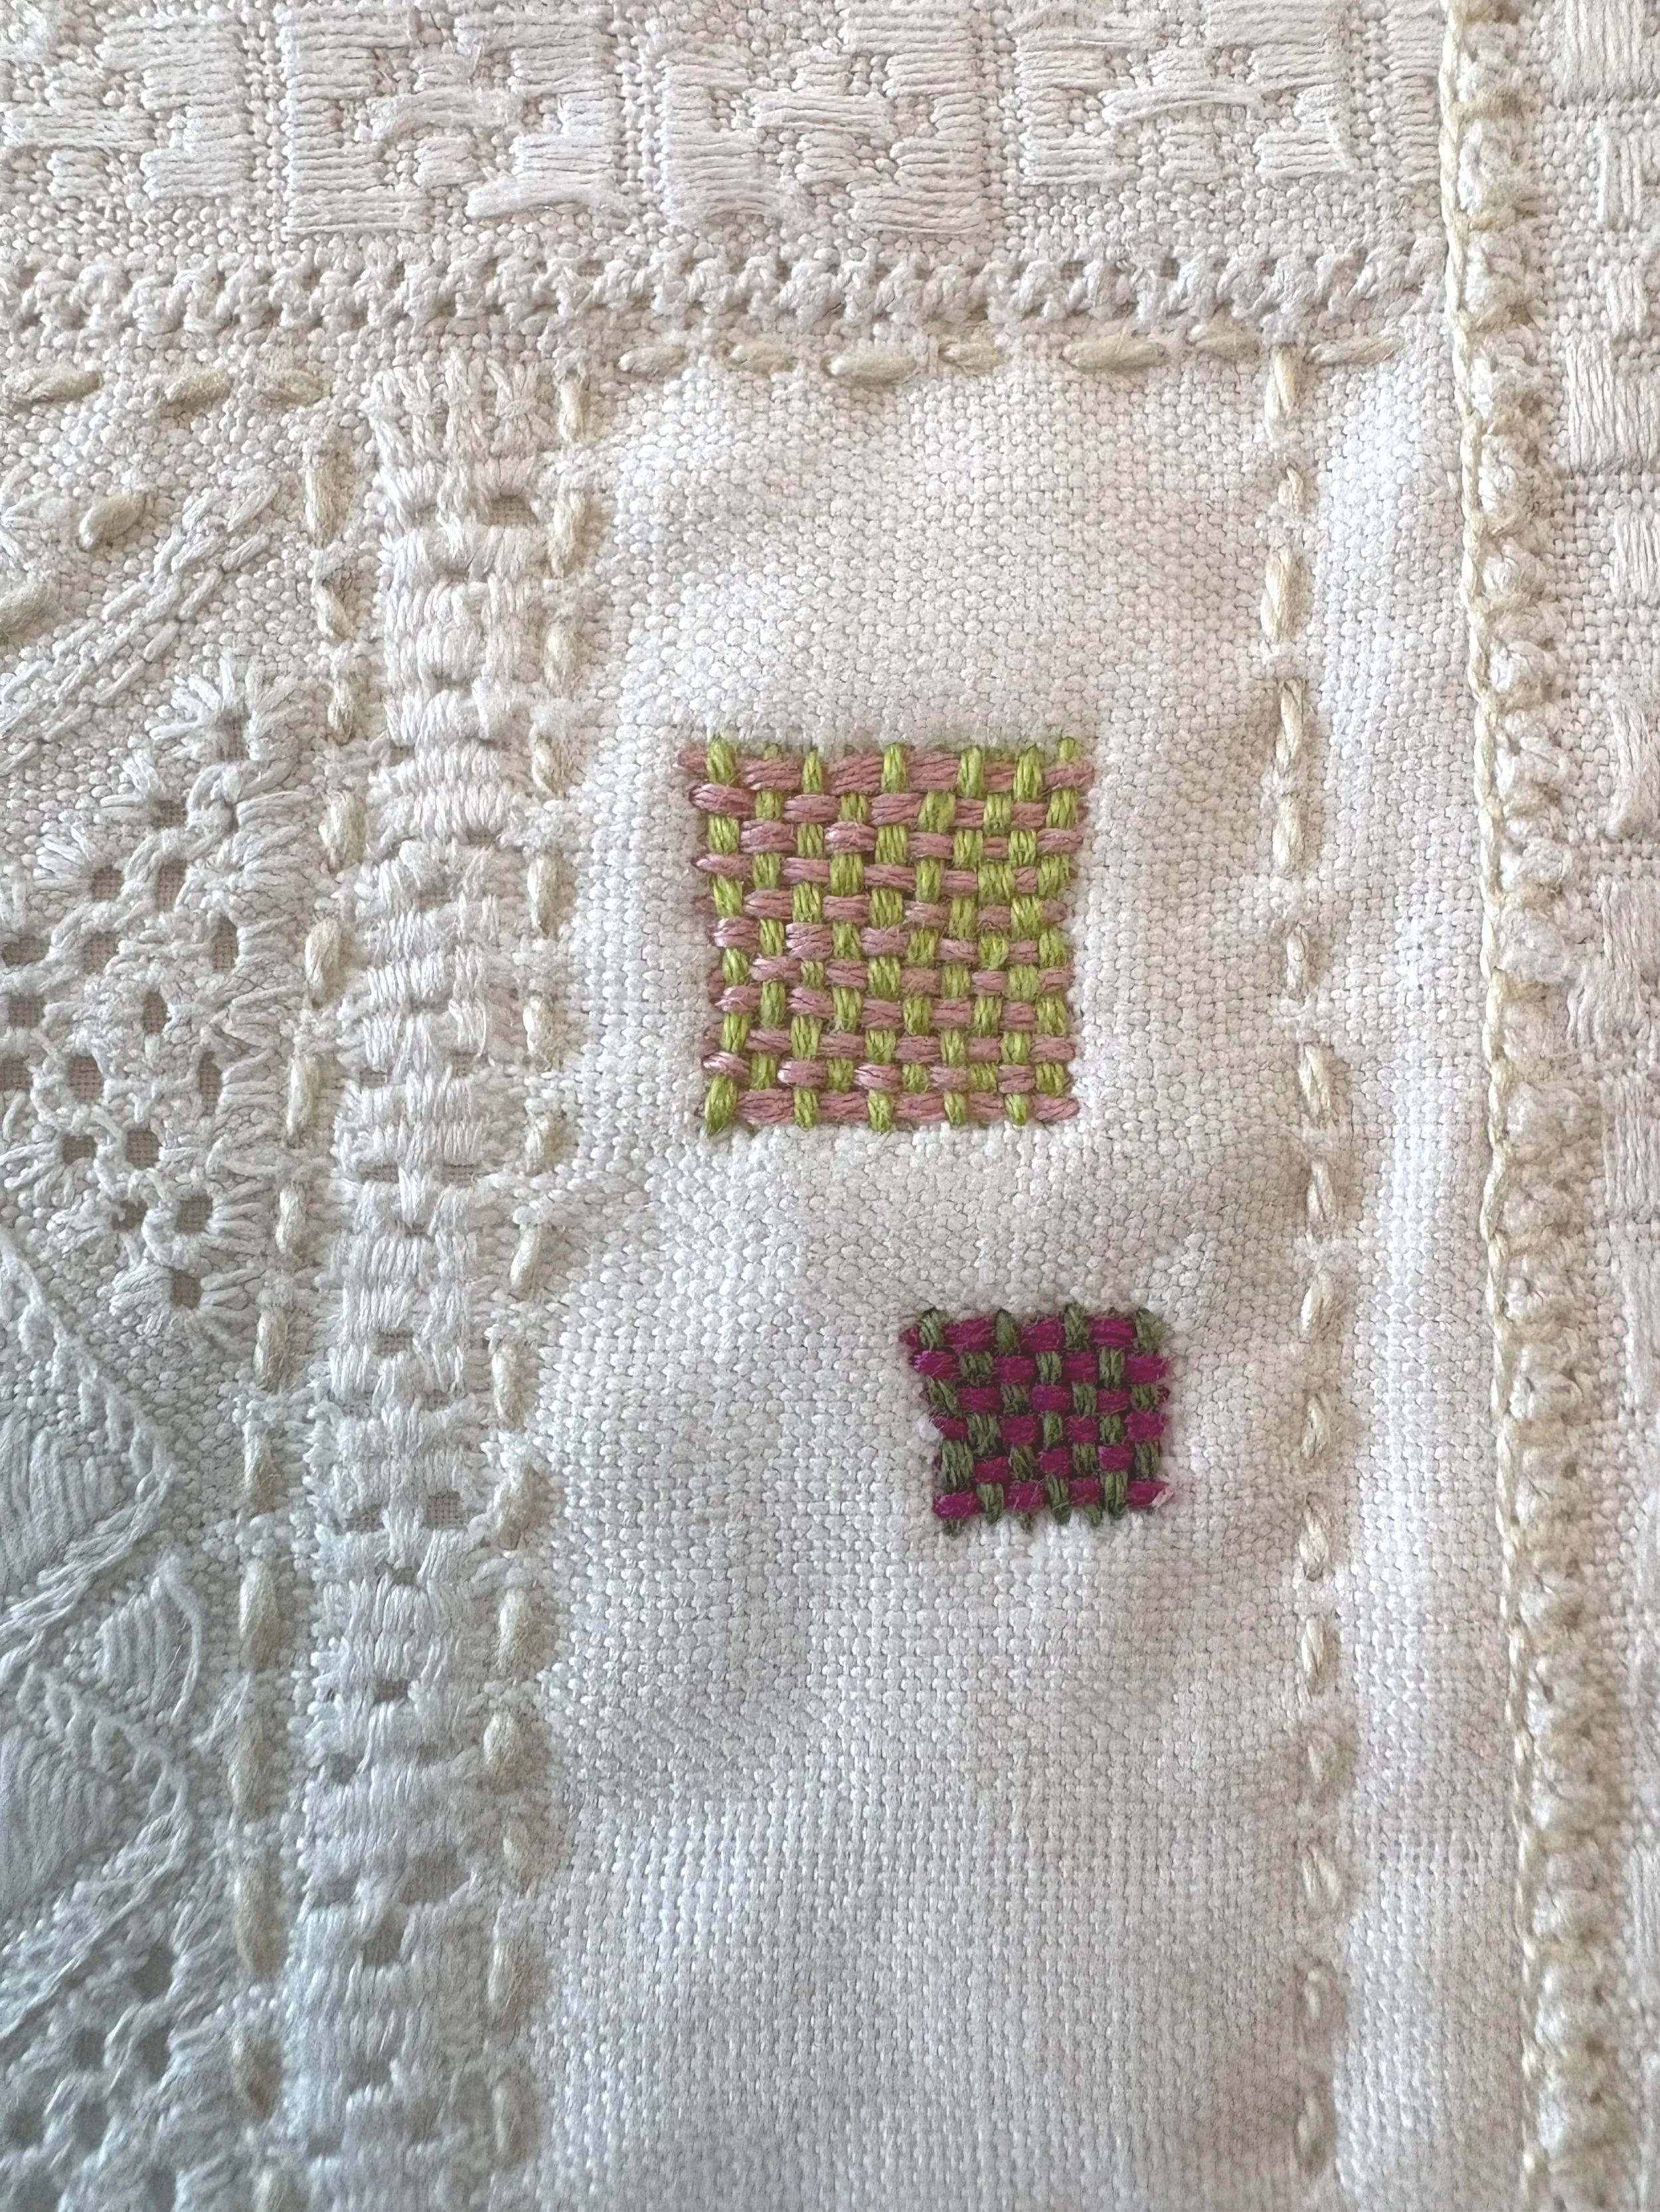
Once the squares were built I wanted to add some colorful slow stitching to the panels. I found alot of great modern embroidery inspo on Pinterest.
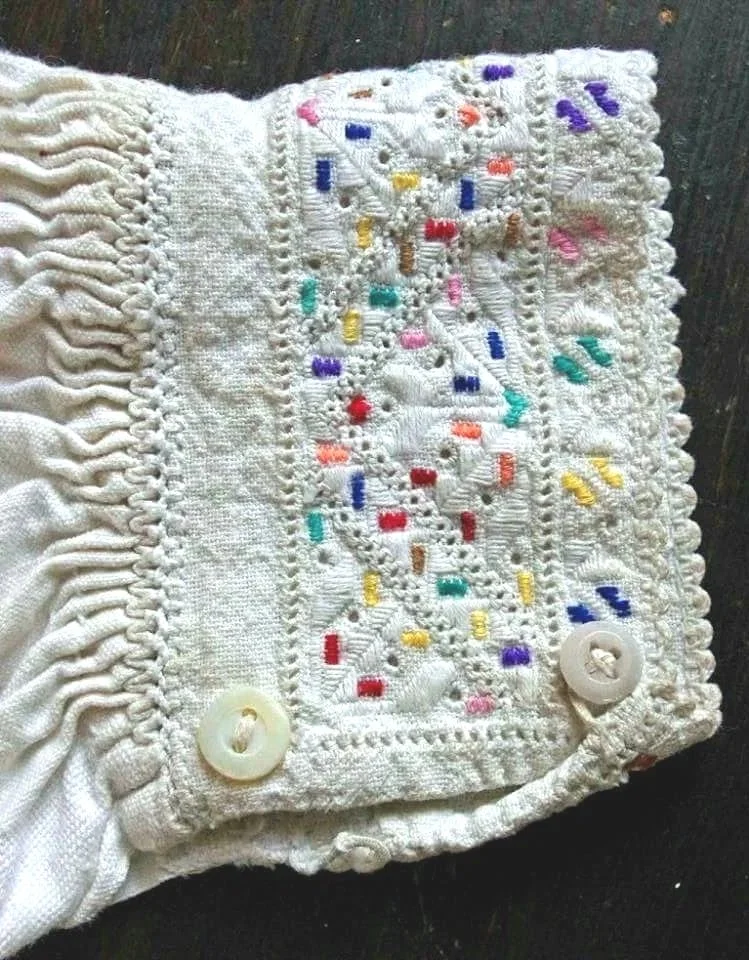
Modern embroidery on a vintage cuff
This is so cool, I really wanted to try this colorful style on the vintage tablecloth.
So to my floss stash I went and chose an array of bright colors and also some ecru to match the linen. I did a combo of reinforcing the pieces together with blanket stitch in ecru and colorful detail after I was satisfied the pieces were stitched together. With the colorful thread I did satin stitch, running stitch and I also made mini darn patches too.
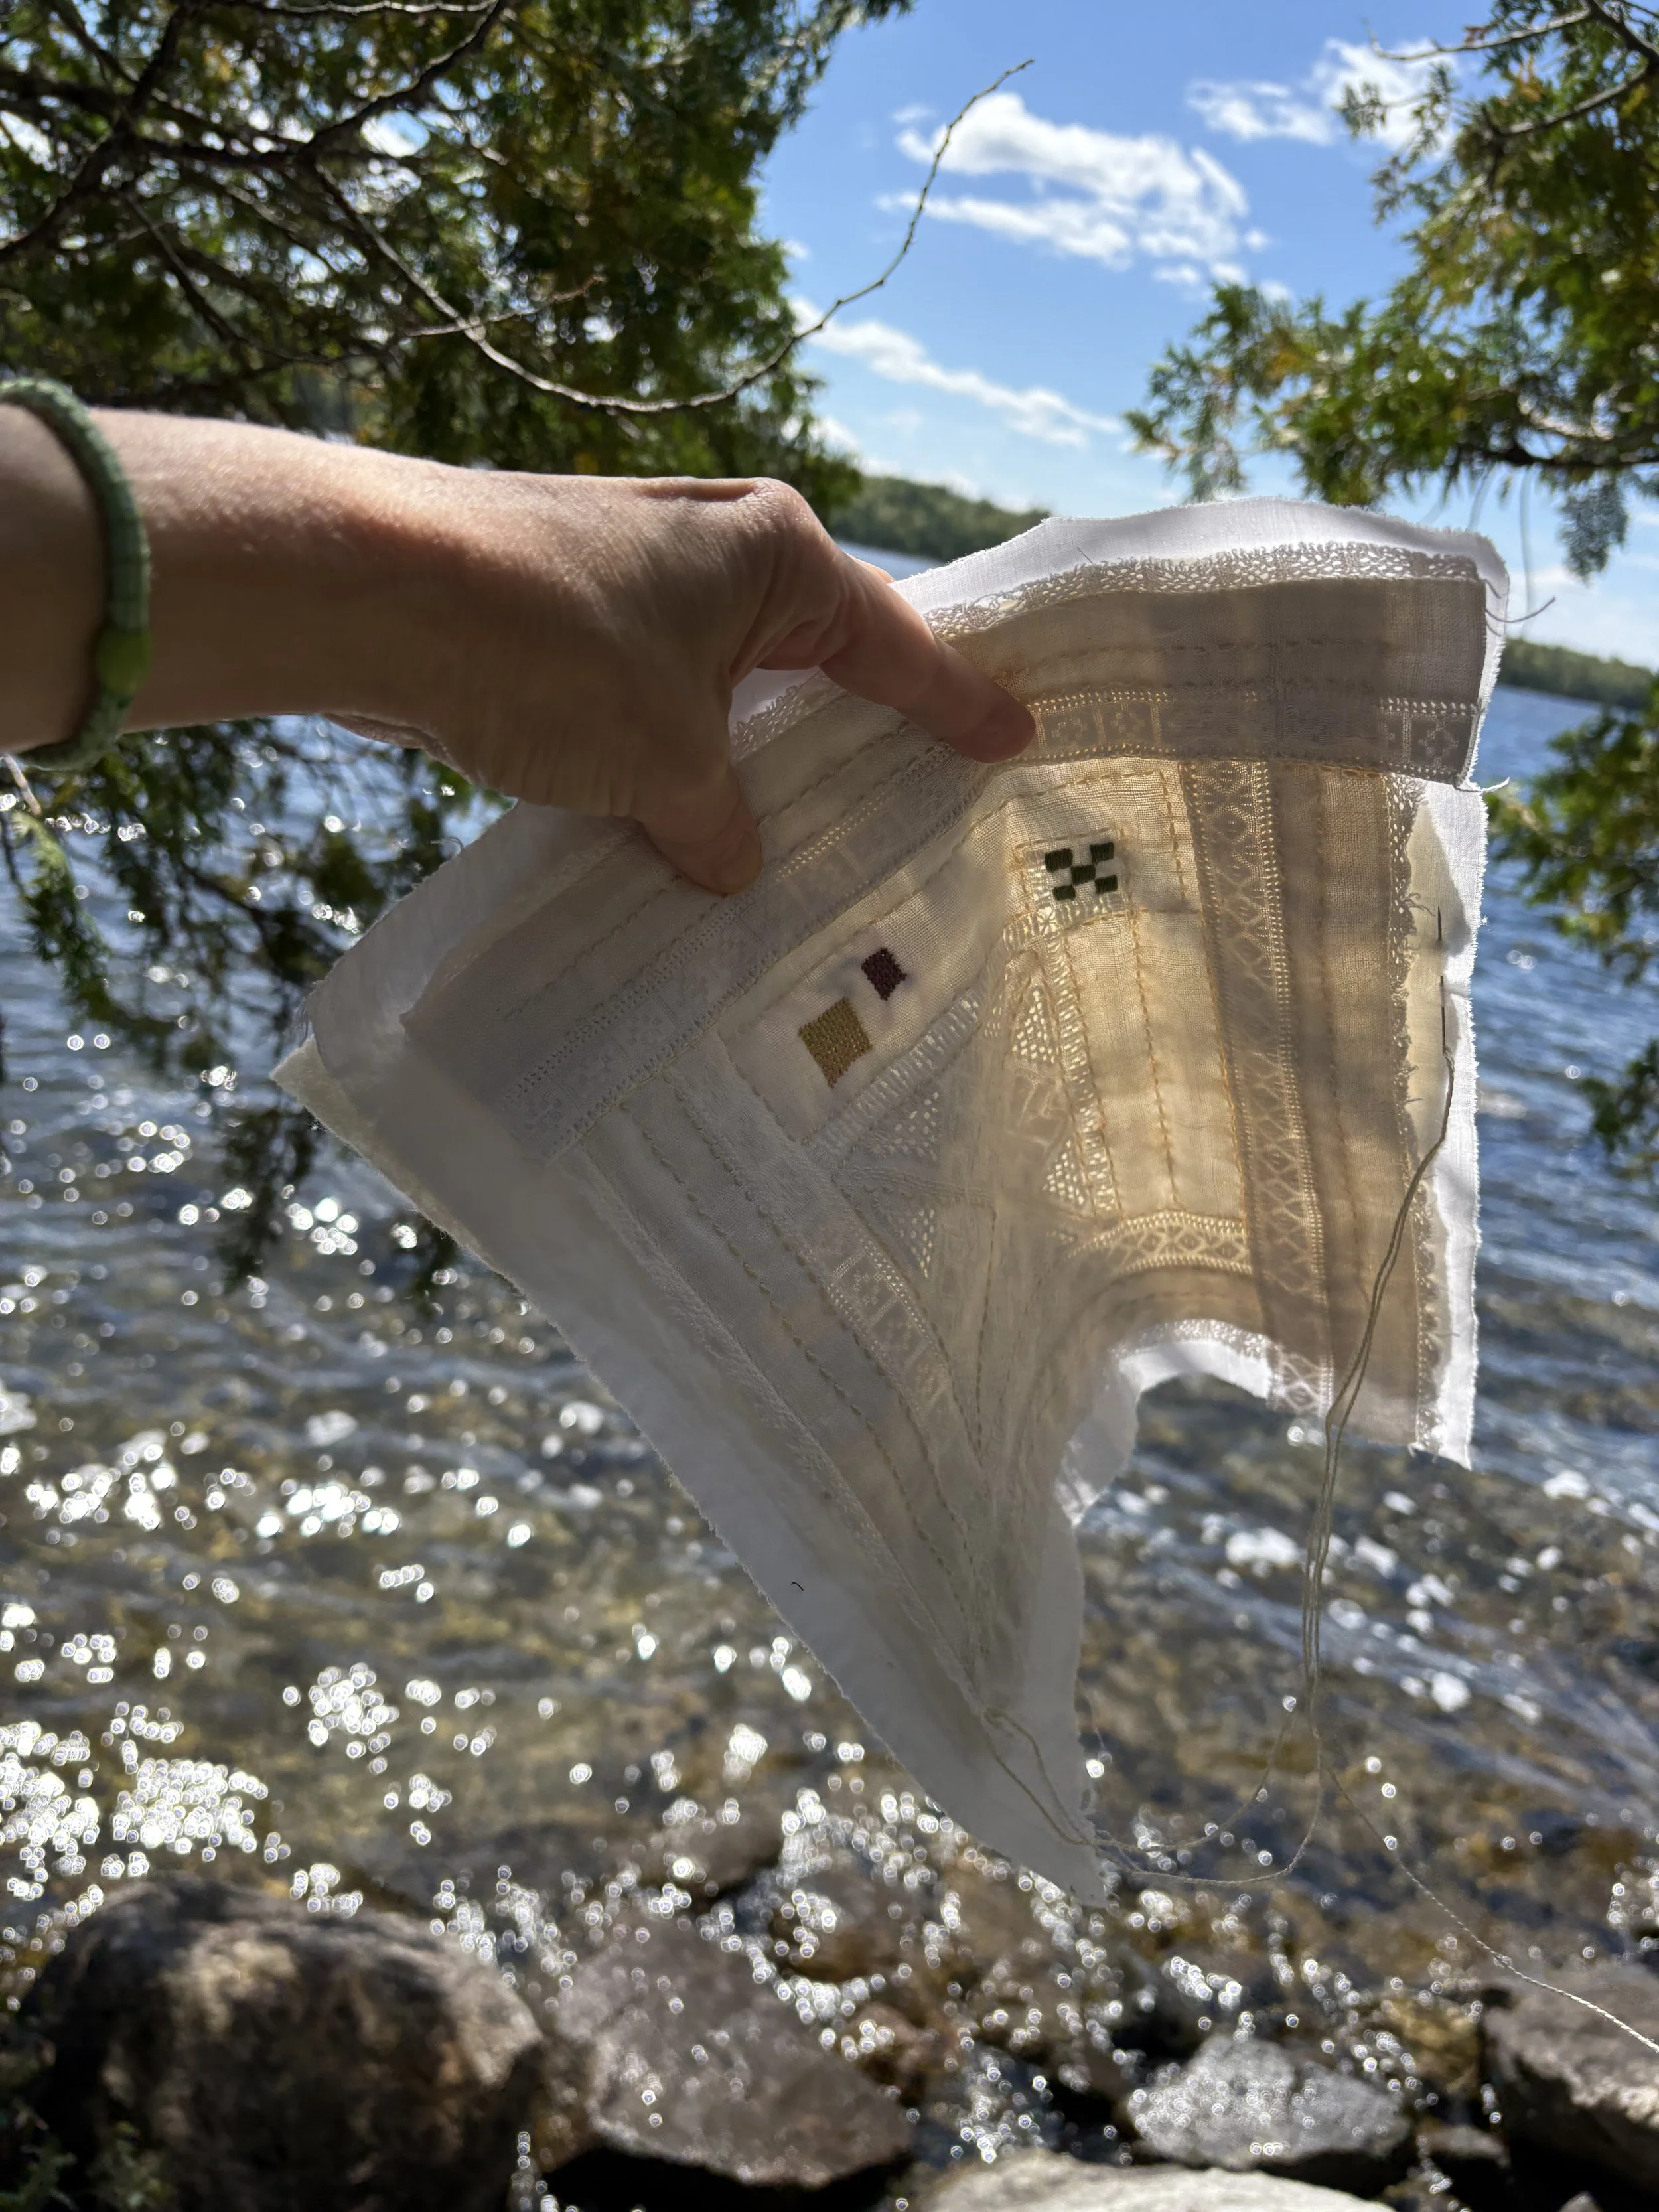
Embroidery lakeside on a blustery but sunny day
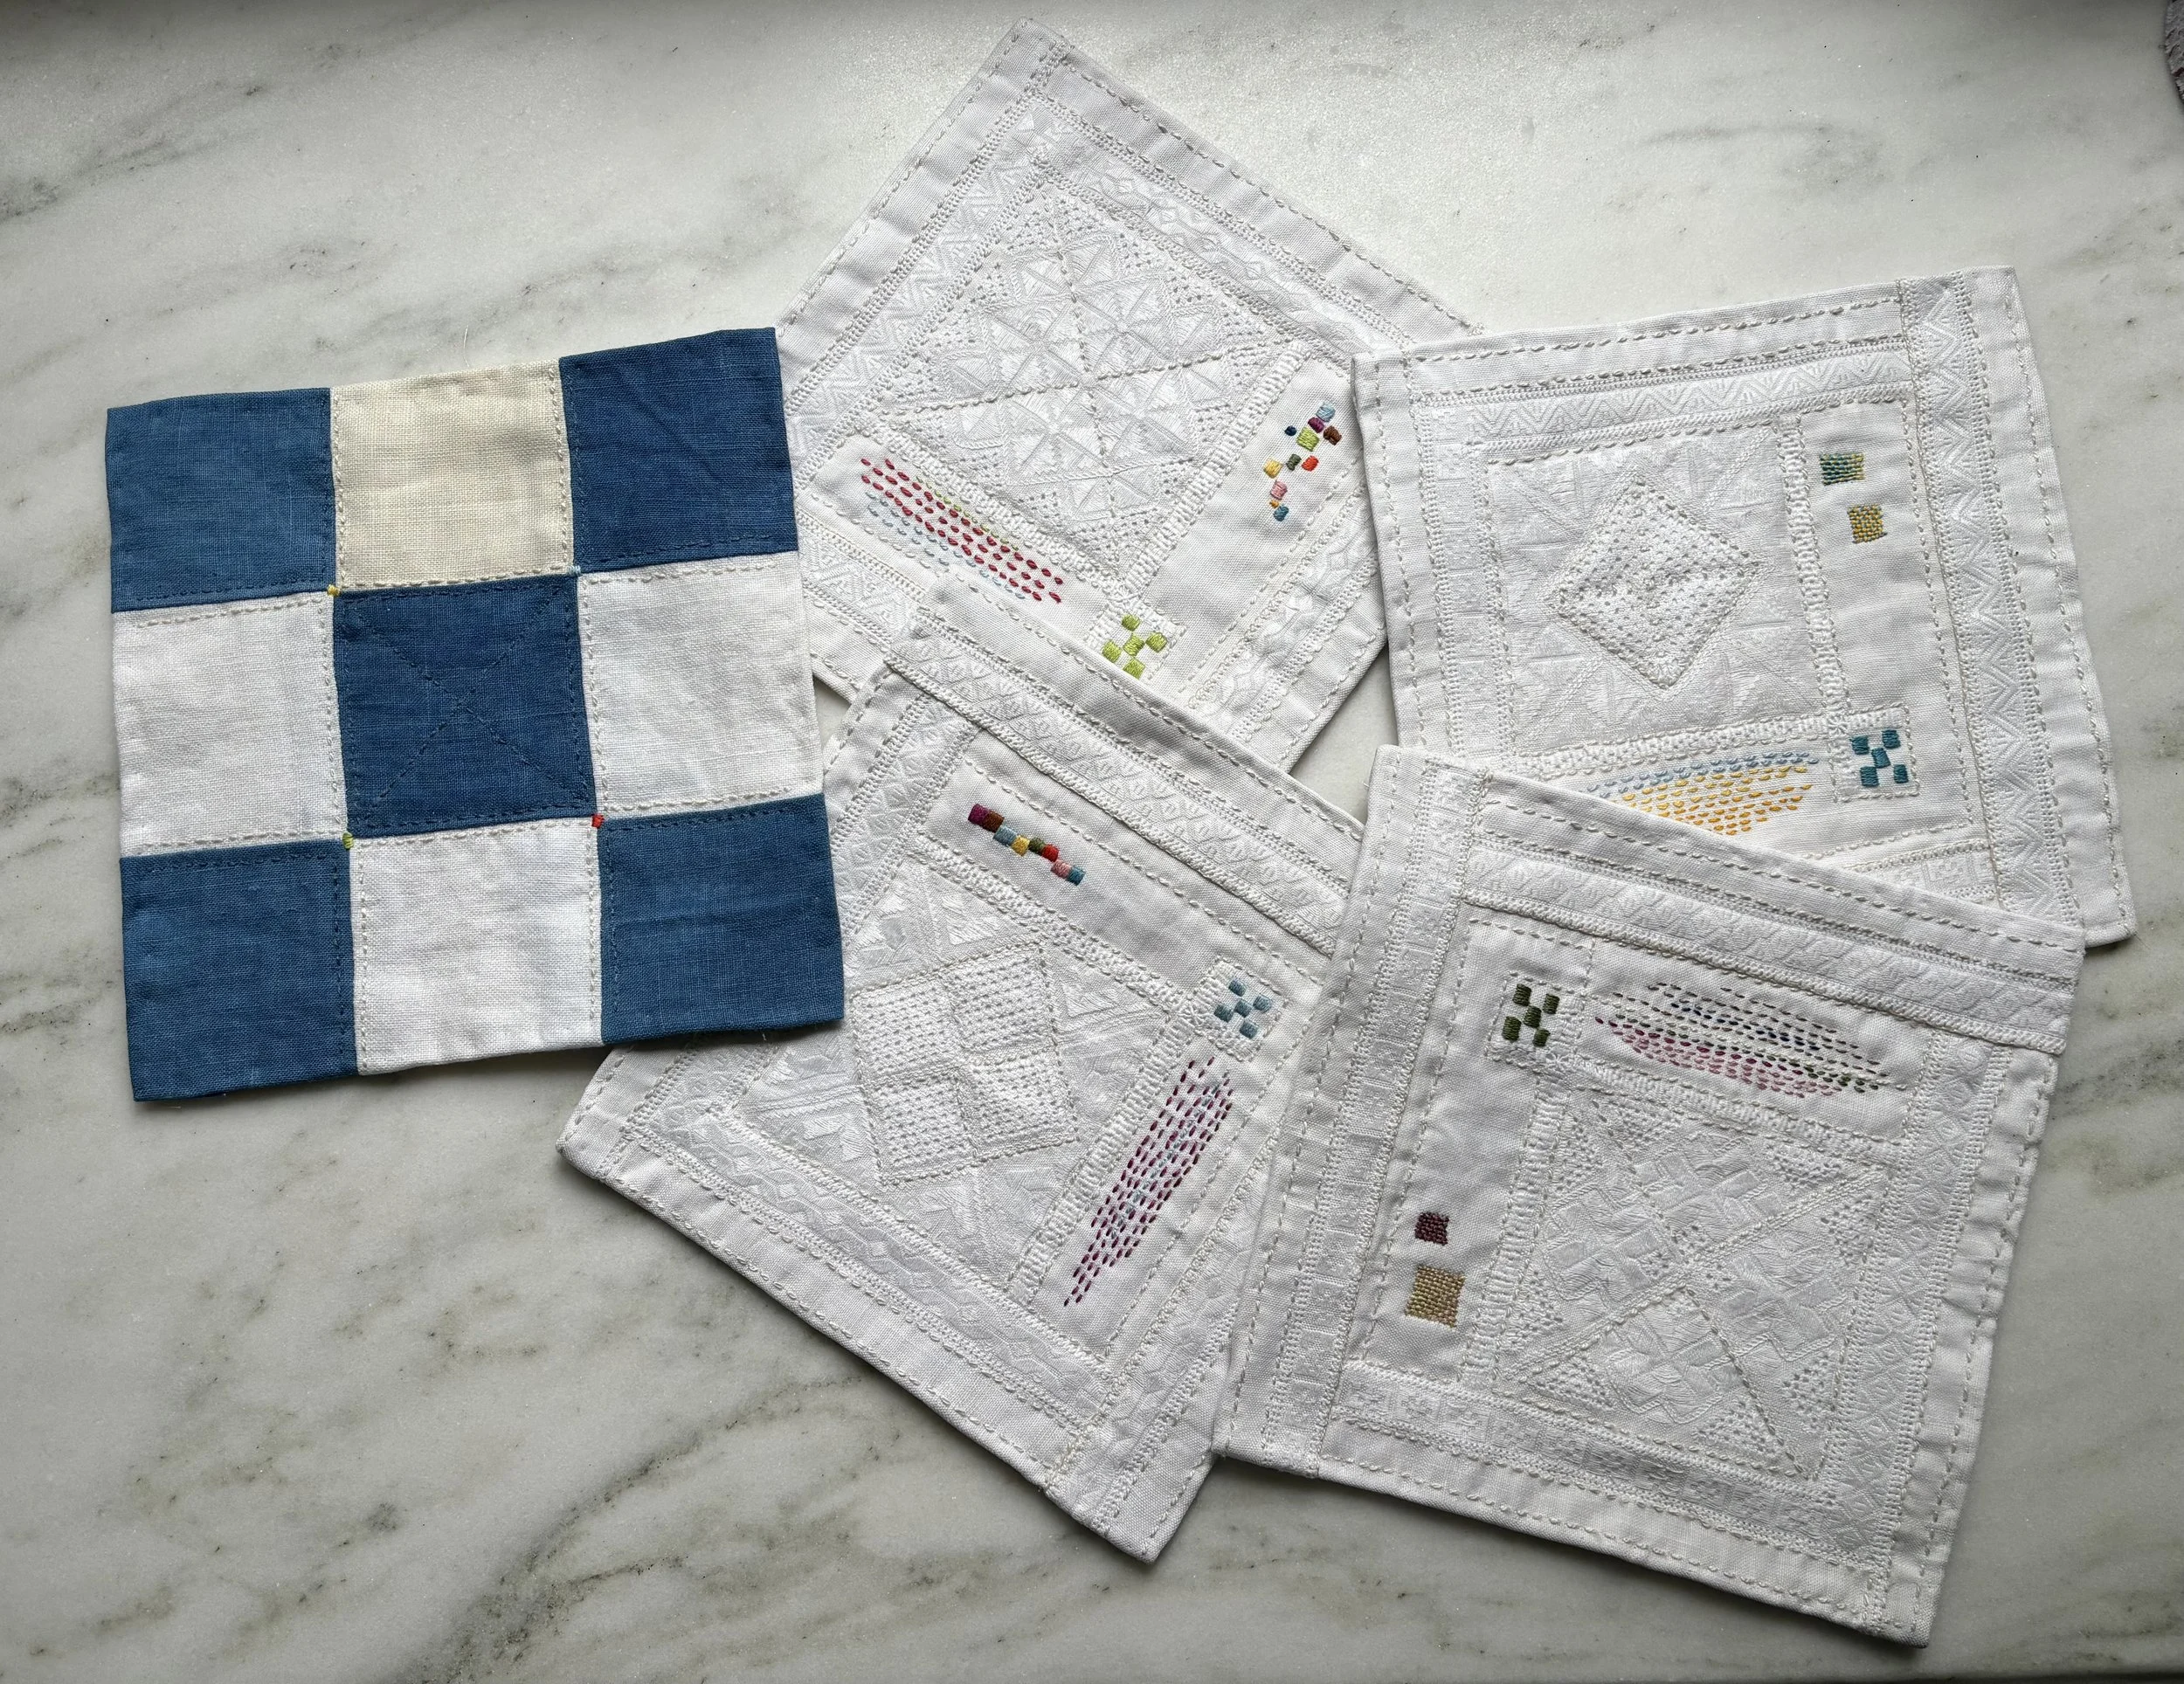
You can see what it looks like with the batting incorporated, I’m glad I did that for such a large bag. Also, you can see where I zigzagged stitched the batting scraps together.

I think after I made this square I realized that the color embroidery made sense to do before the embroidery with the batting.


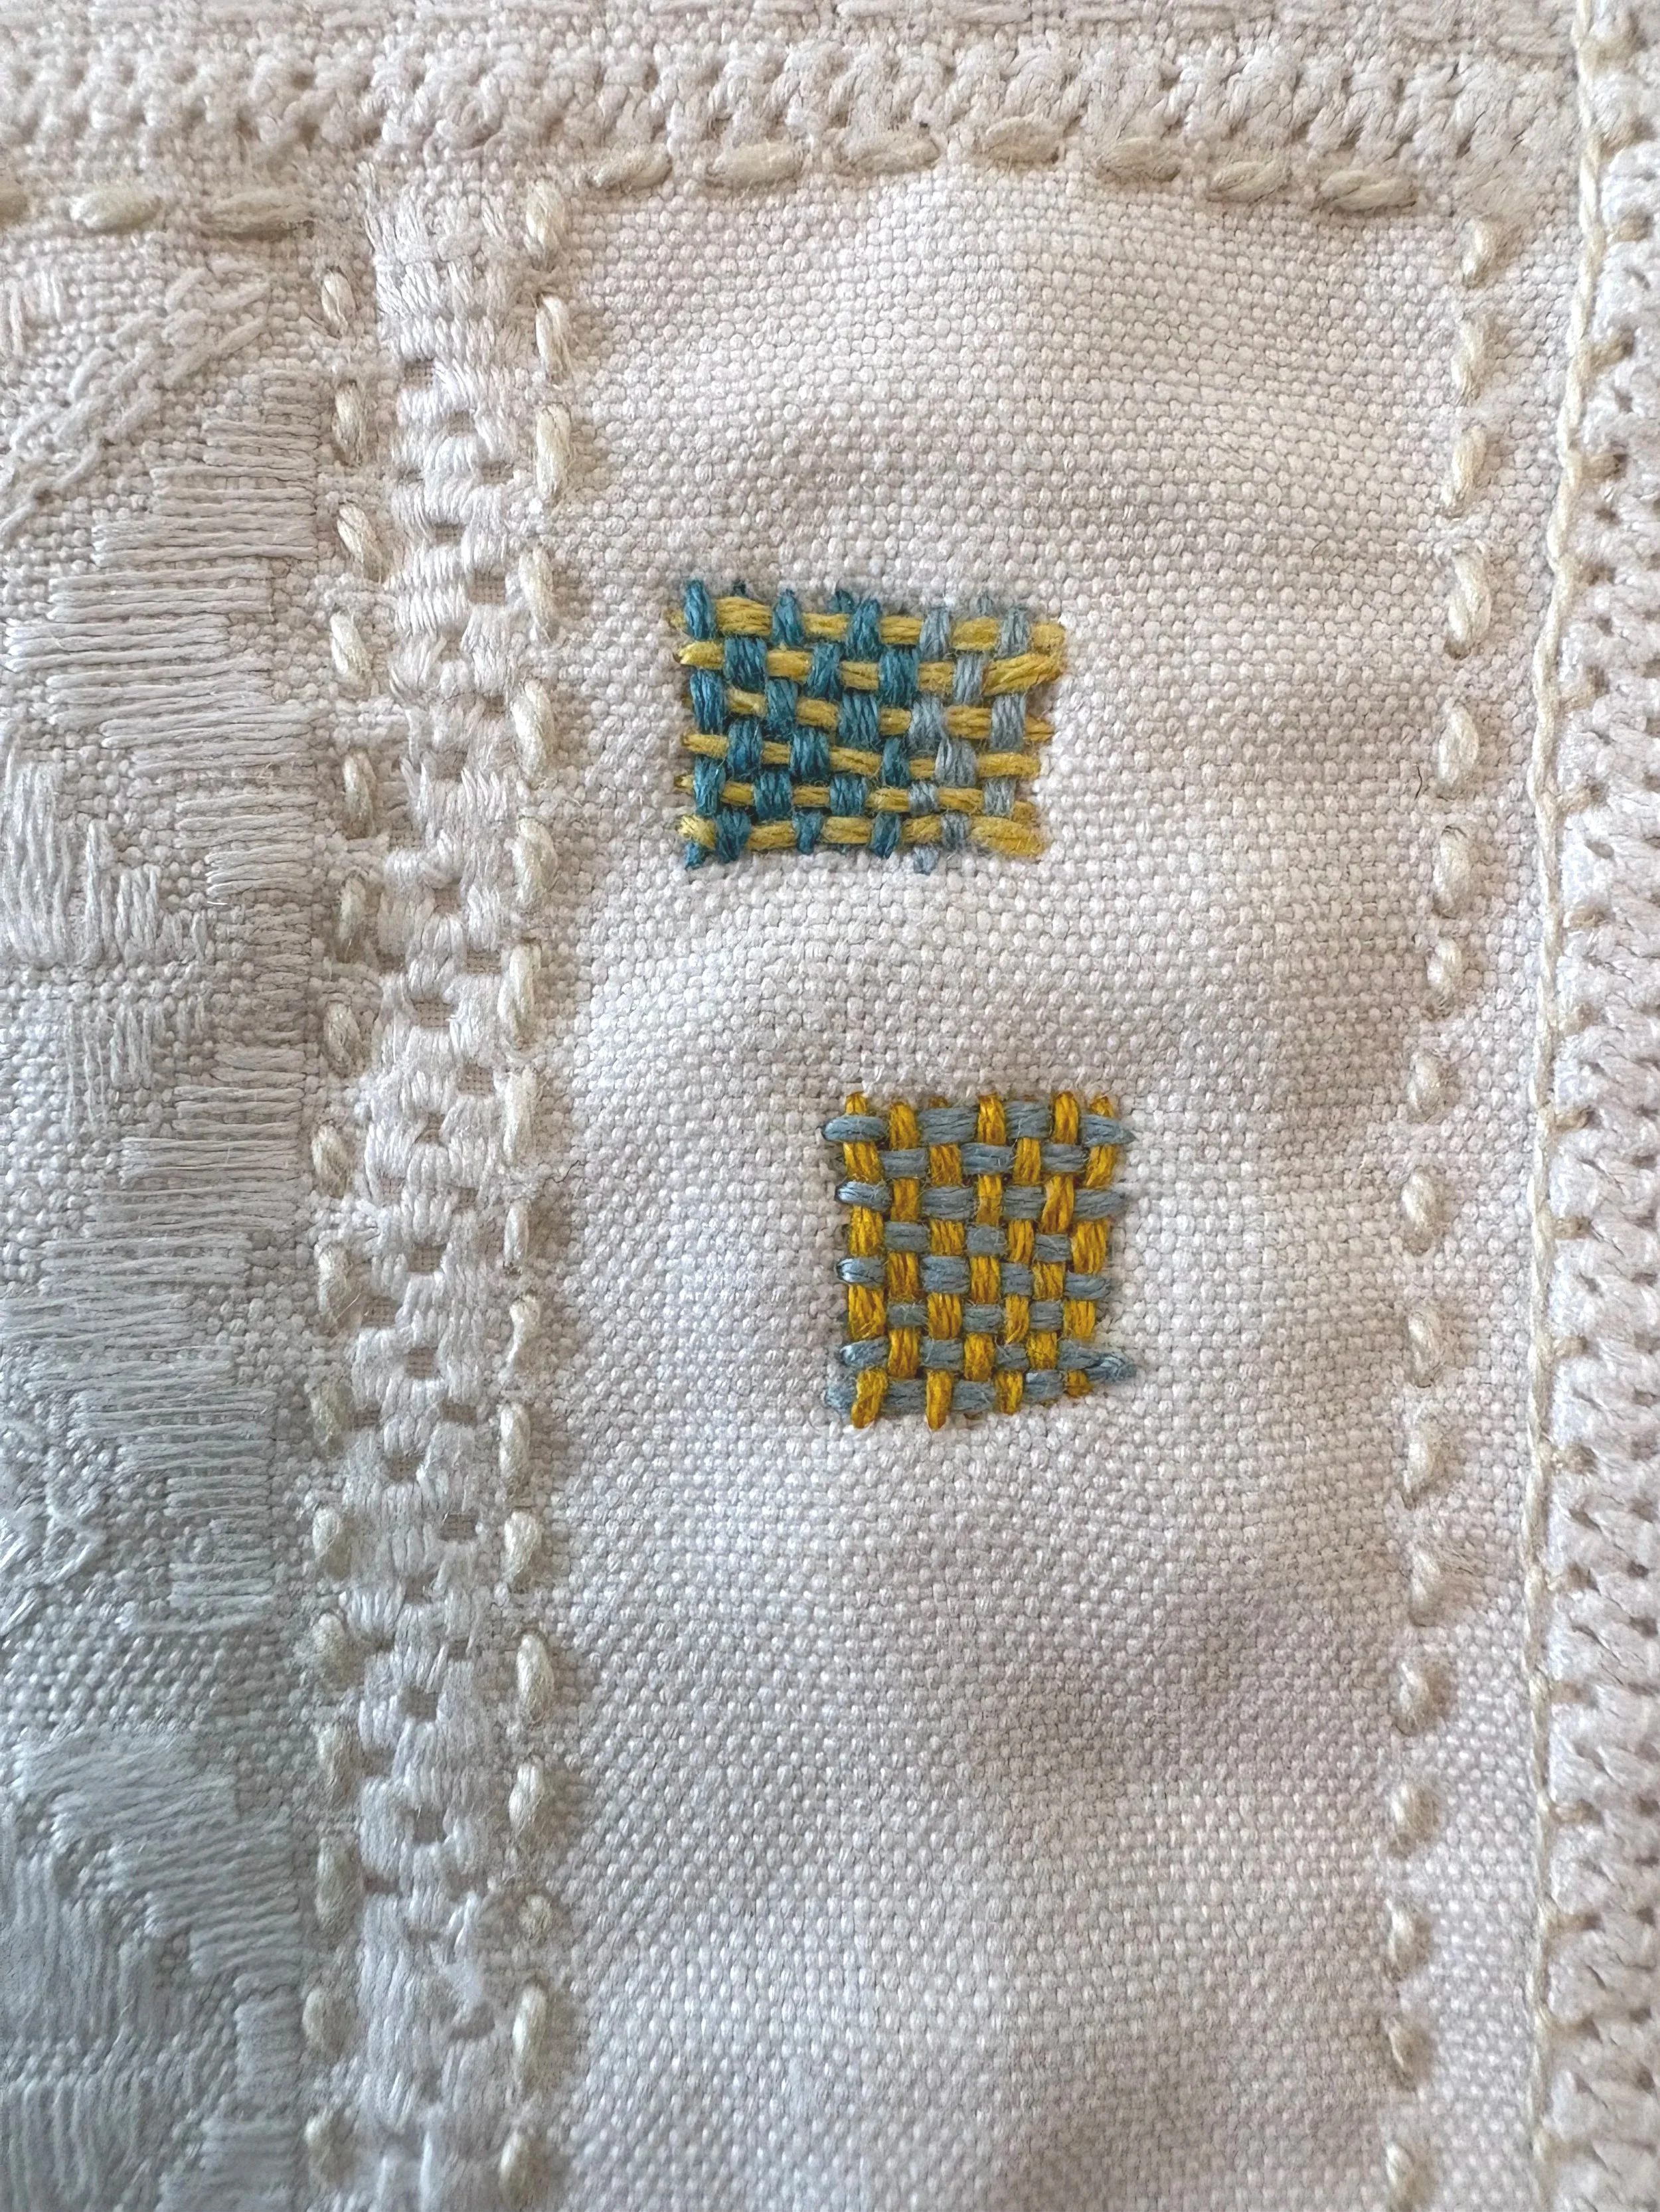
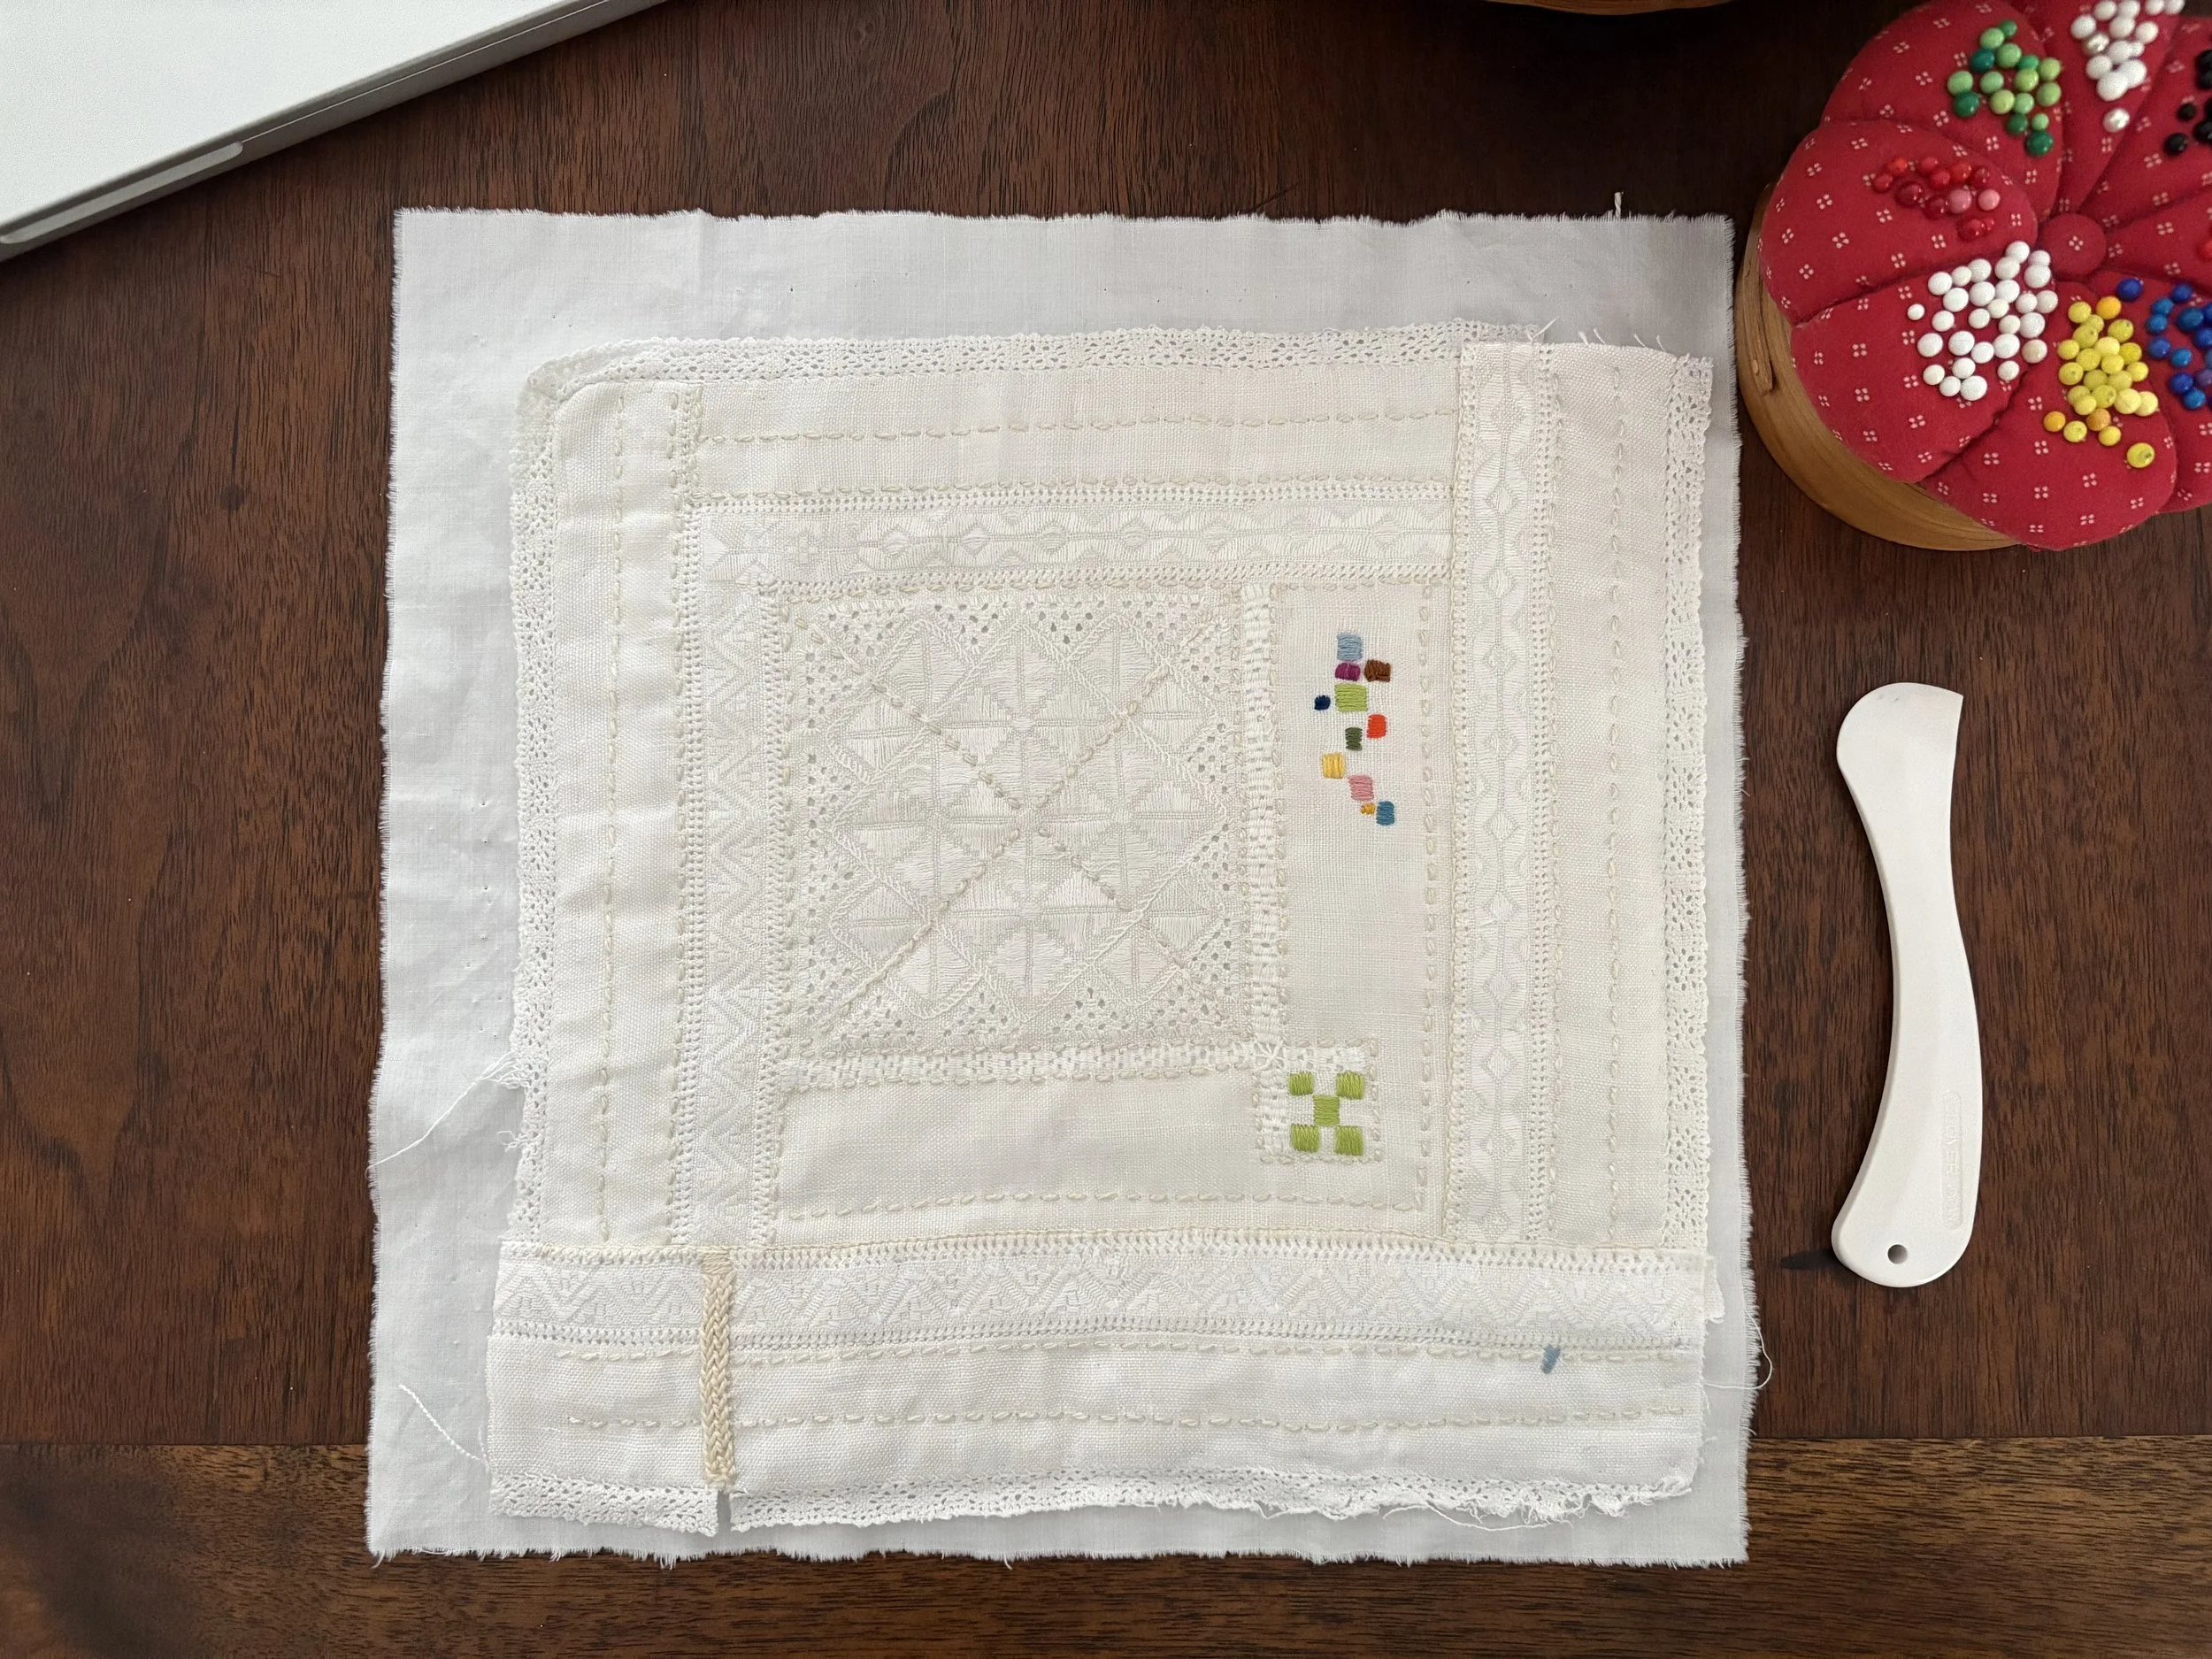
In these photos you can see the different styles of embroidery I used for the panels.
Really a mix of colors, and stitches.
The ecru embroidery I mainly did to quilt the batting to the panel and reinforce where I had to piece bits of the tablecloth together. All of the embroidery really created a nice texture too.
Bottom panel and side panels done ready to be stitched together
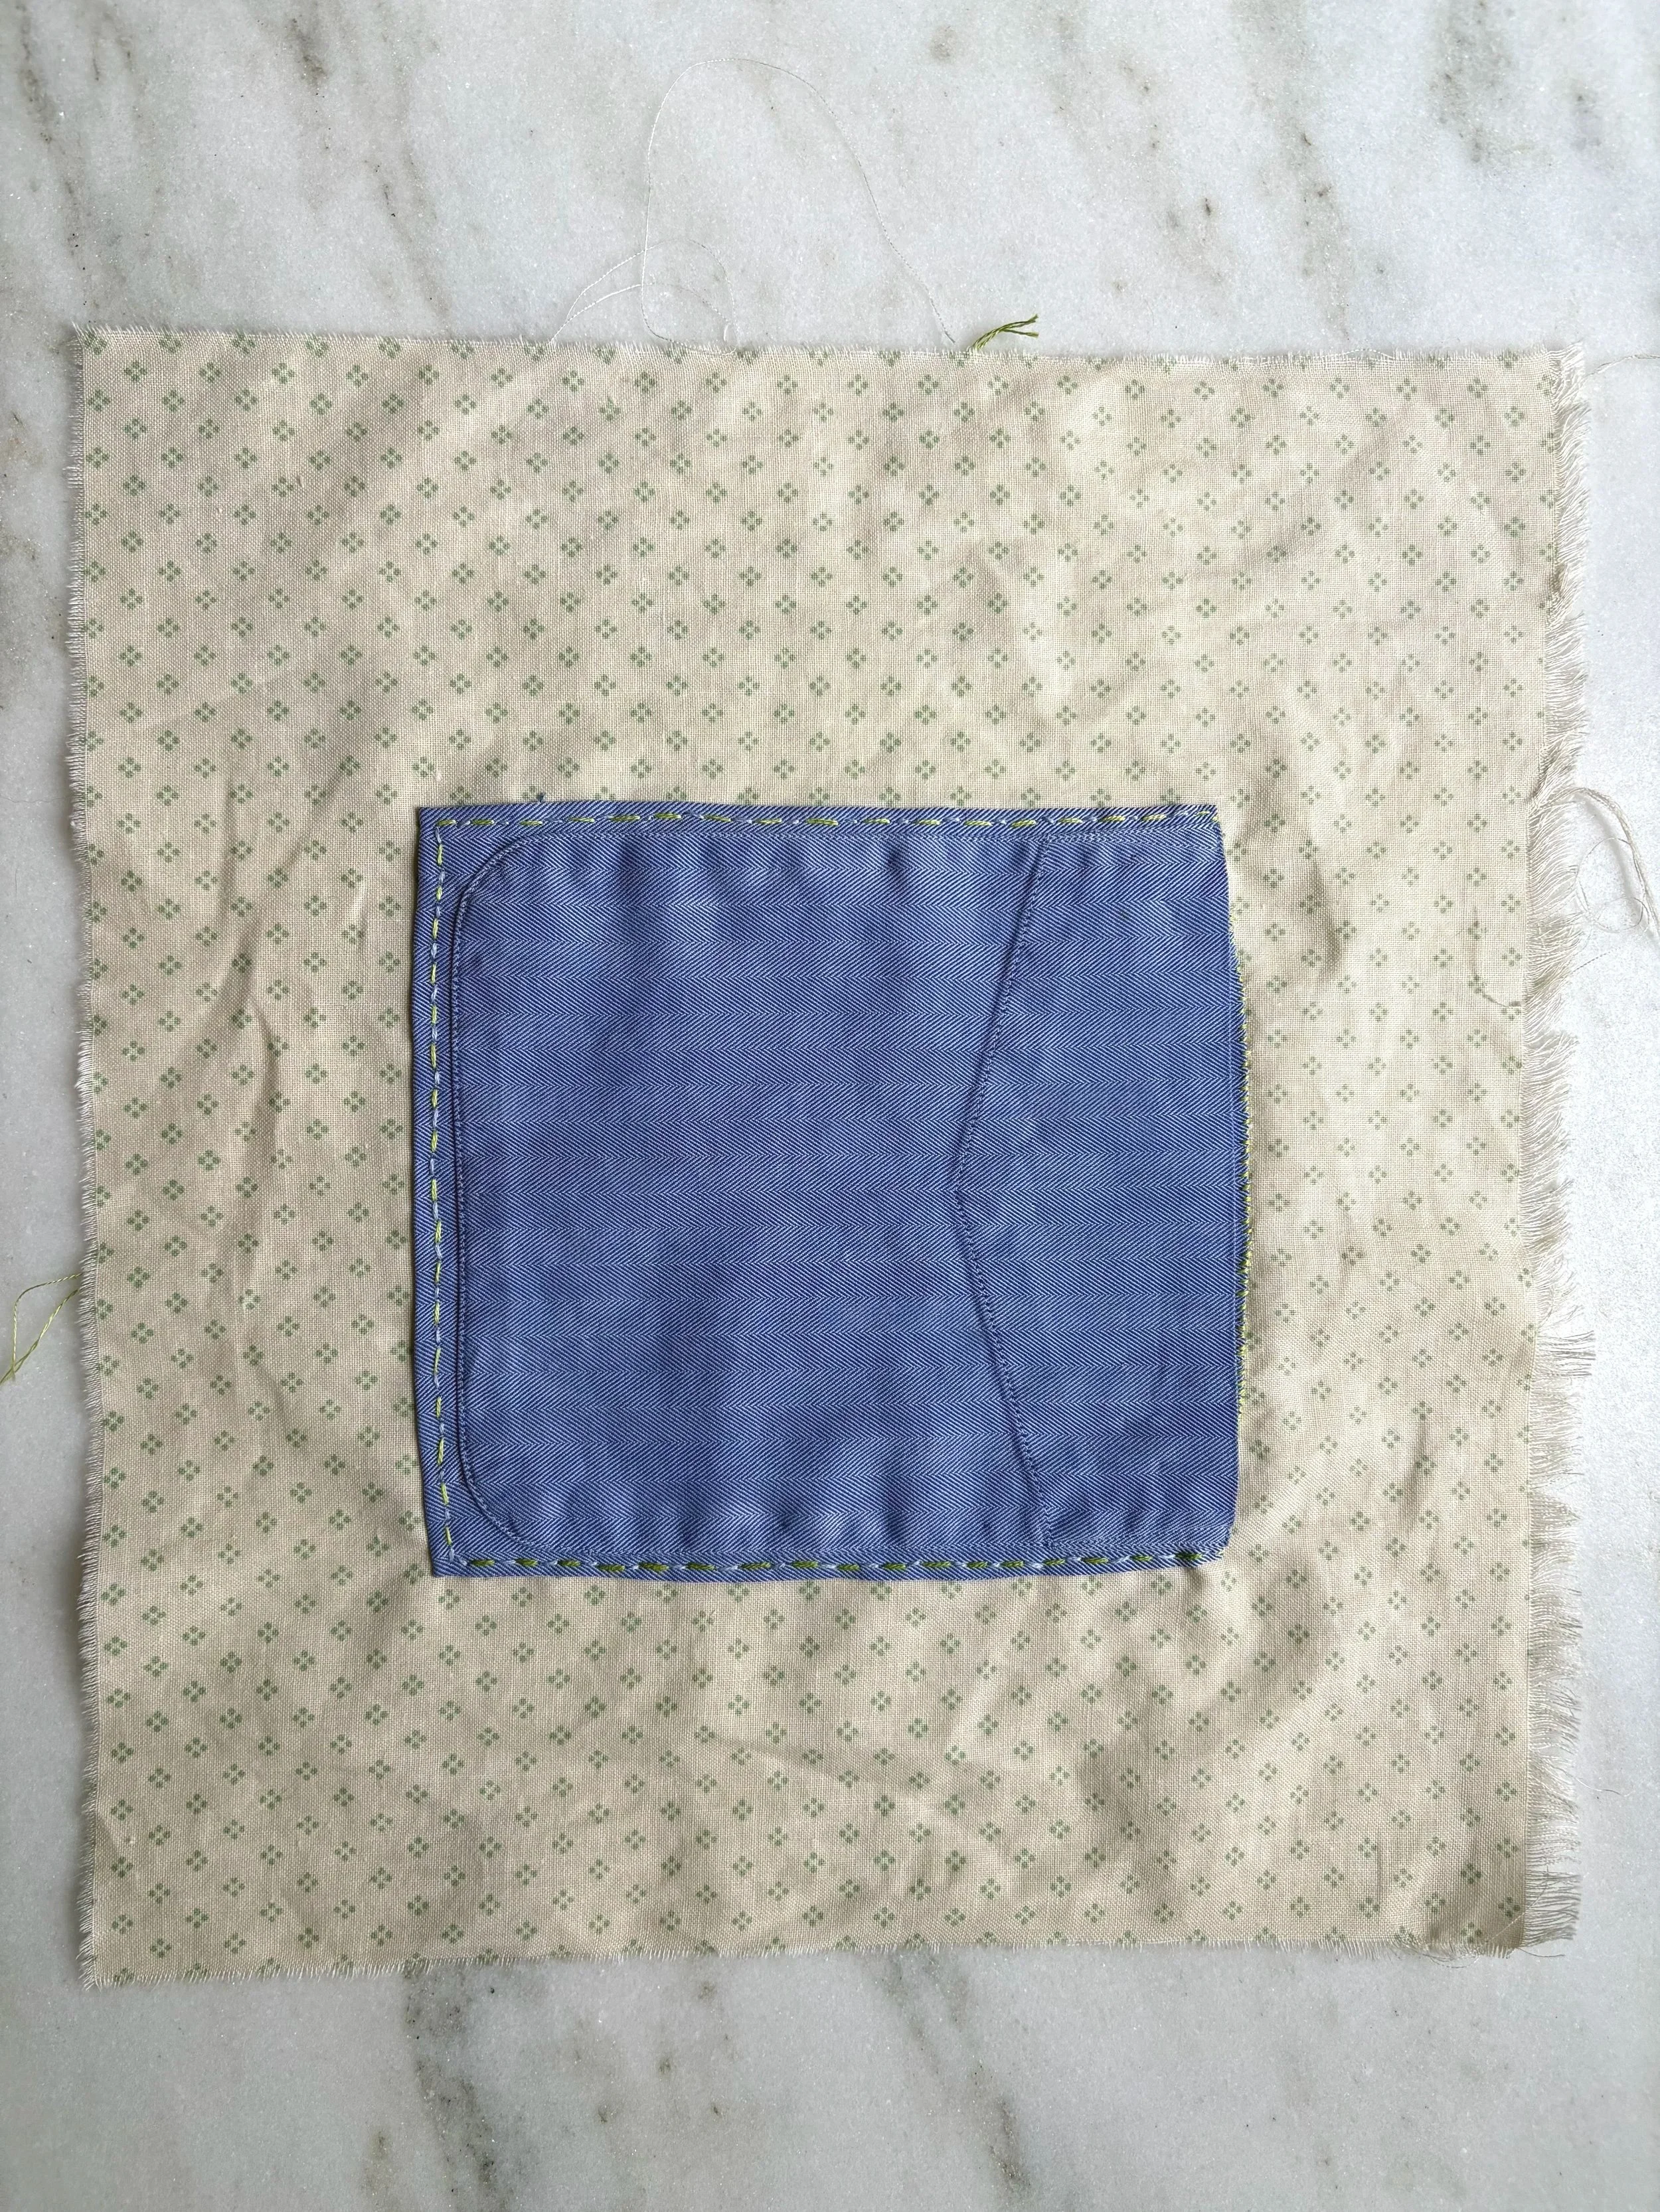
I turned the edges of each panel to the back and stitched them so that when I joined the panels I could whip stitch with indigo thread Jude Hill style. I wanted to add an inside pocket, which came from an old shirt my husband wore to shreds. Its nice when you can do that because its strong and it saves time from making one from scratch.
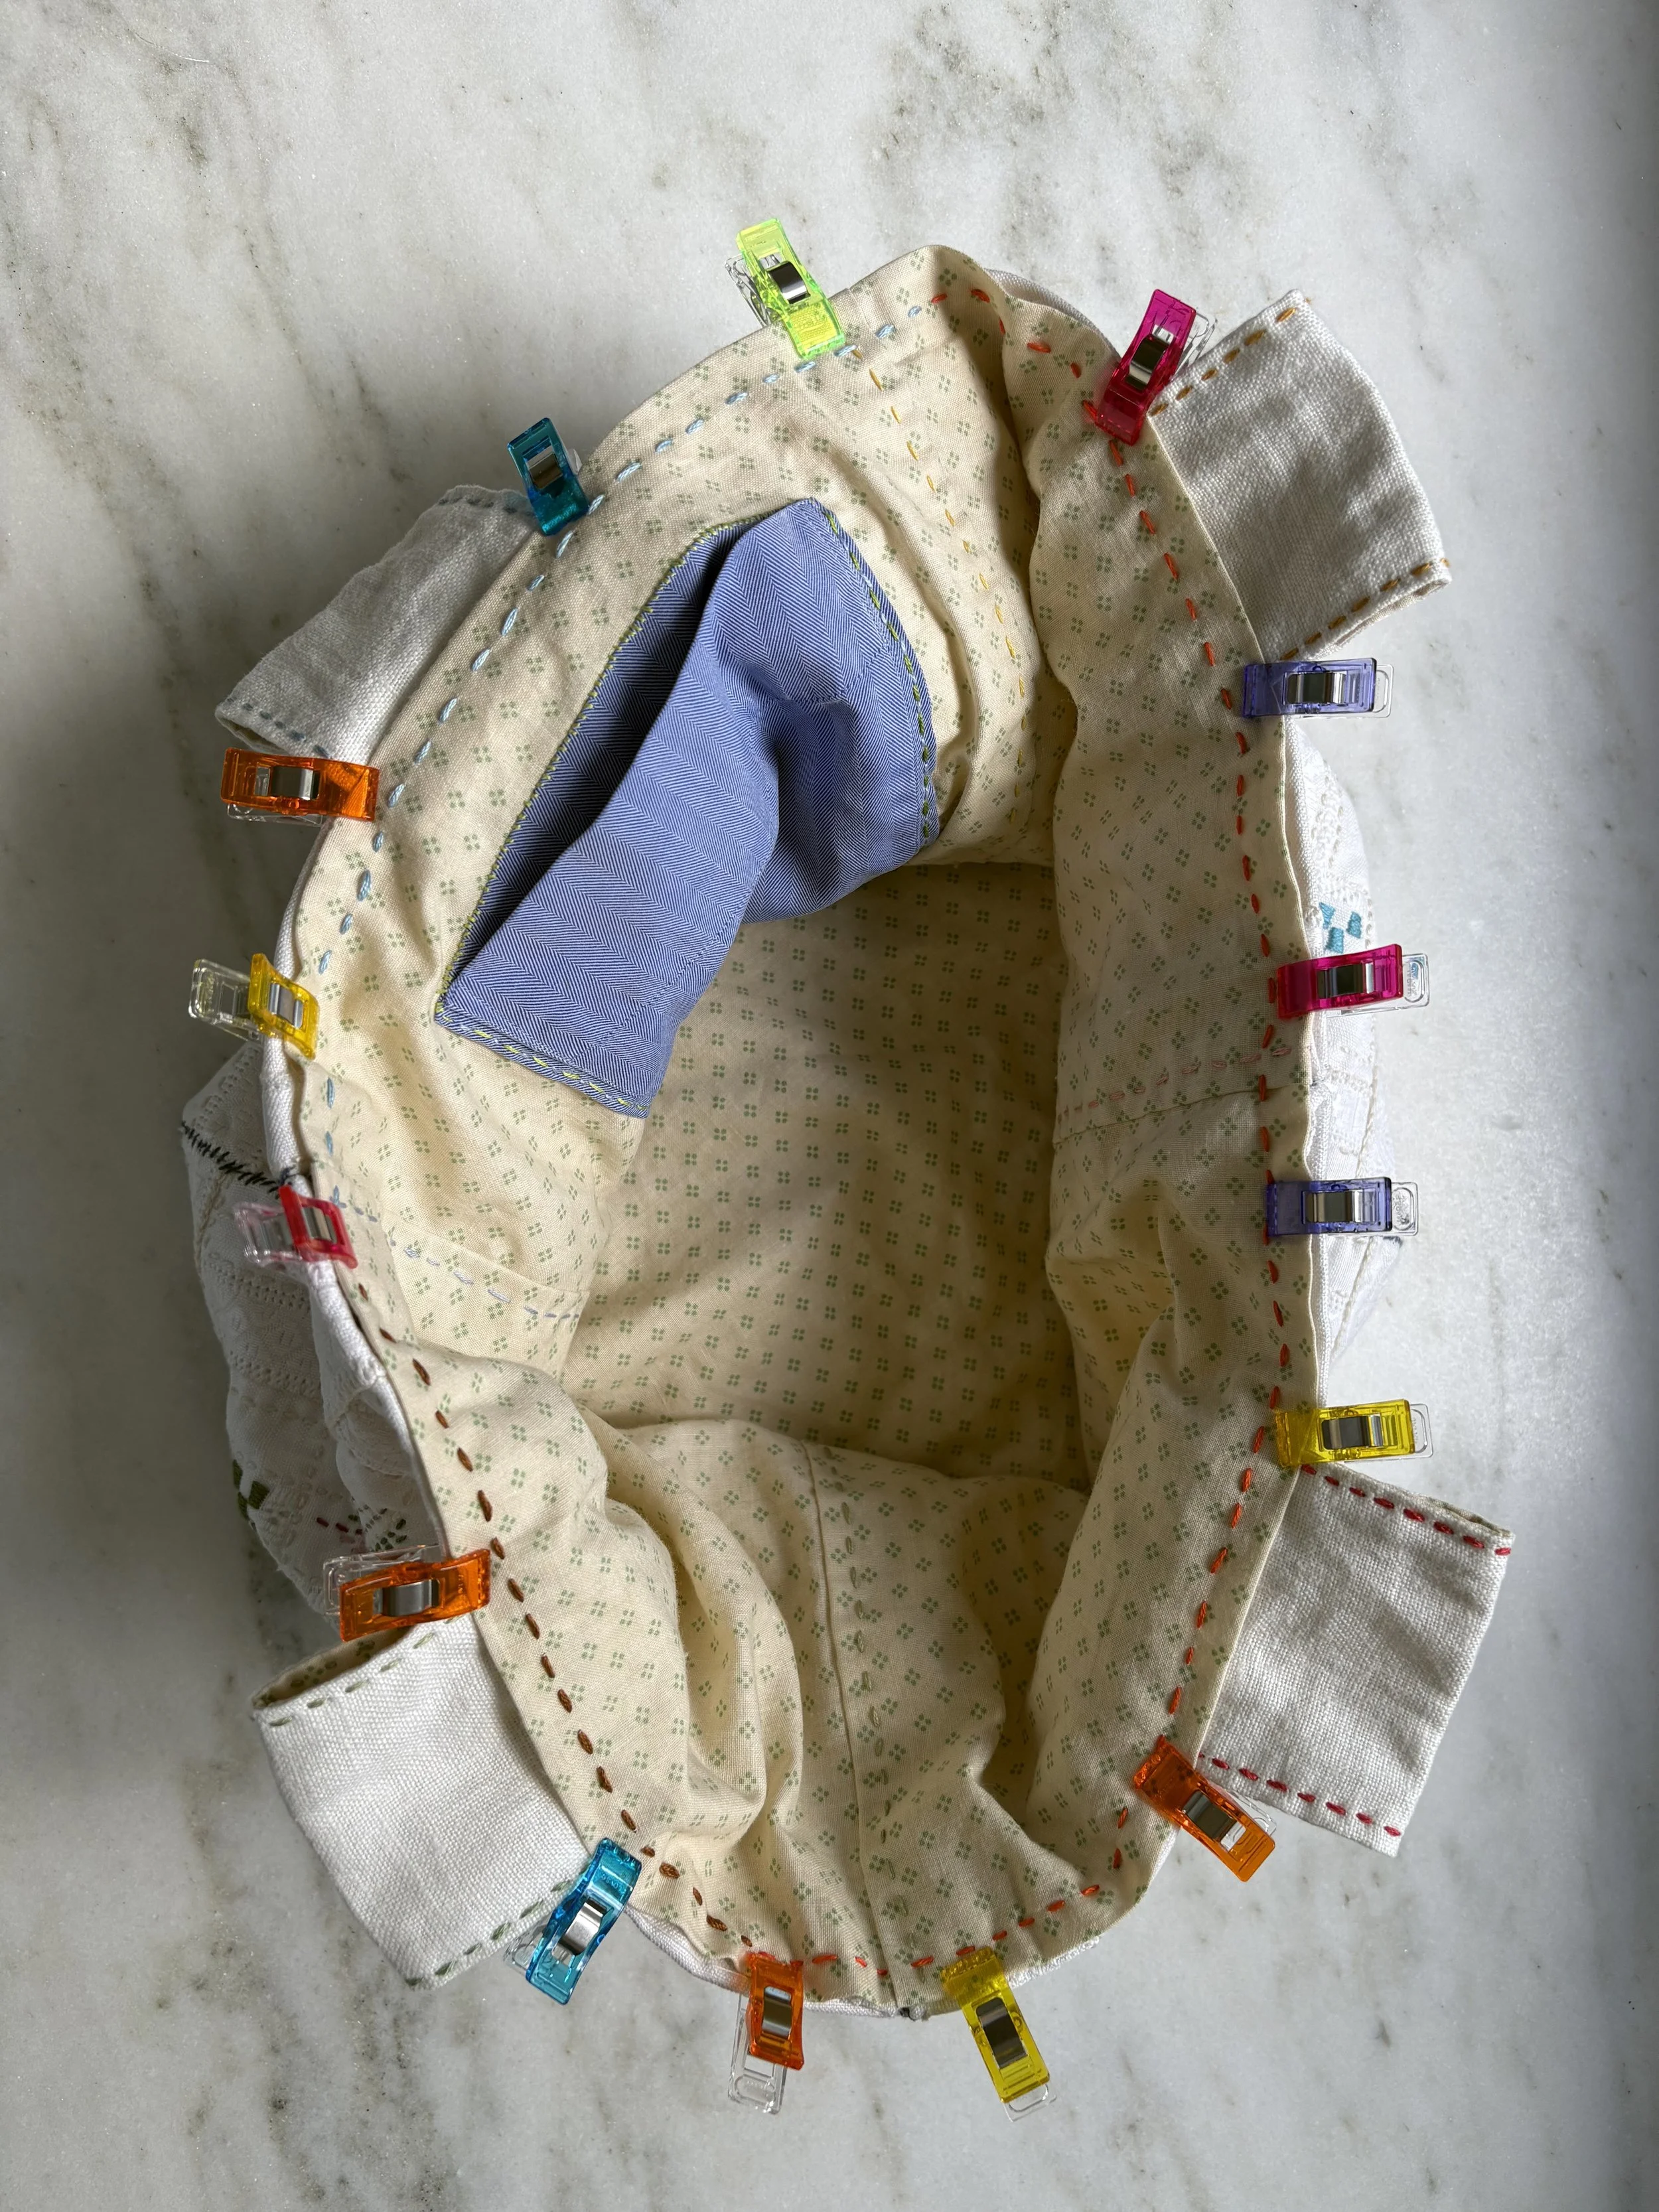
Then I made the lining with square panels the same size as the exterior ones, and then stitched all around the top whip stitch style. I made my own twisted cord and it was finished! Rice bags are so fun to use and fun to make.
NEXT TIME
I would tea dye the linen before embroidery, especially for something that will get handled a lot
I prefer smaller bags, so I probably would have made it a few inches smaller so it wasn’t so slouchy